Last week, I worked on an RGB LED doorbell Home Assistant project, but there was one thing that it lacked. A stand for the doorbell! Luckily I have access to 3D printers and "some" knowledge of design.

I'm not totally new to 3D design and CAD (Computer Aided Design) in general, but my level of knowledge is far closer to beginner than intermediate. In the past I have used Tinkercad to make my projects. And let me be really clear here, Tinkercad is great! You can do plenty of great projects with it. Introducing CAD to beginners via Tinkercad is a good idea, so you definitely need to give Tinkecad a go.
We've got three sizes of Space Unicorns, all with hundreds of super-bright RGB LEDs and all are powered by the mighty Raspberry Pi RP2350!
But, what if you need something a little more "serious"? Then FreeCAD should be on your list. Ok, everyone is going to suggest something different. Autodesk Fusion and Onshape are also viable alternatives. Try them all out and see what you like.
I've wanted to learn FreeCAD for some time, as my good friend Jo "JSON" Hinchliffe has been a long time inspiration. Jo, I finally did it!
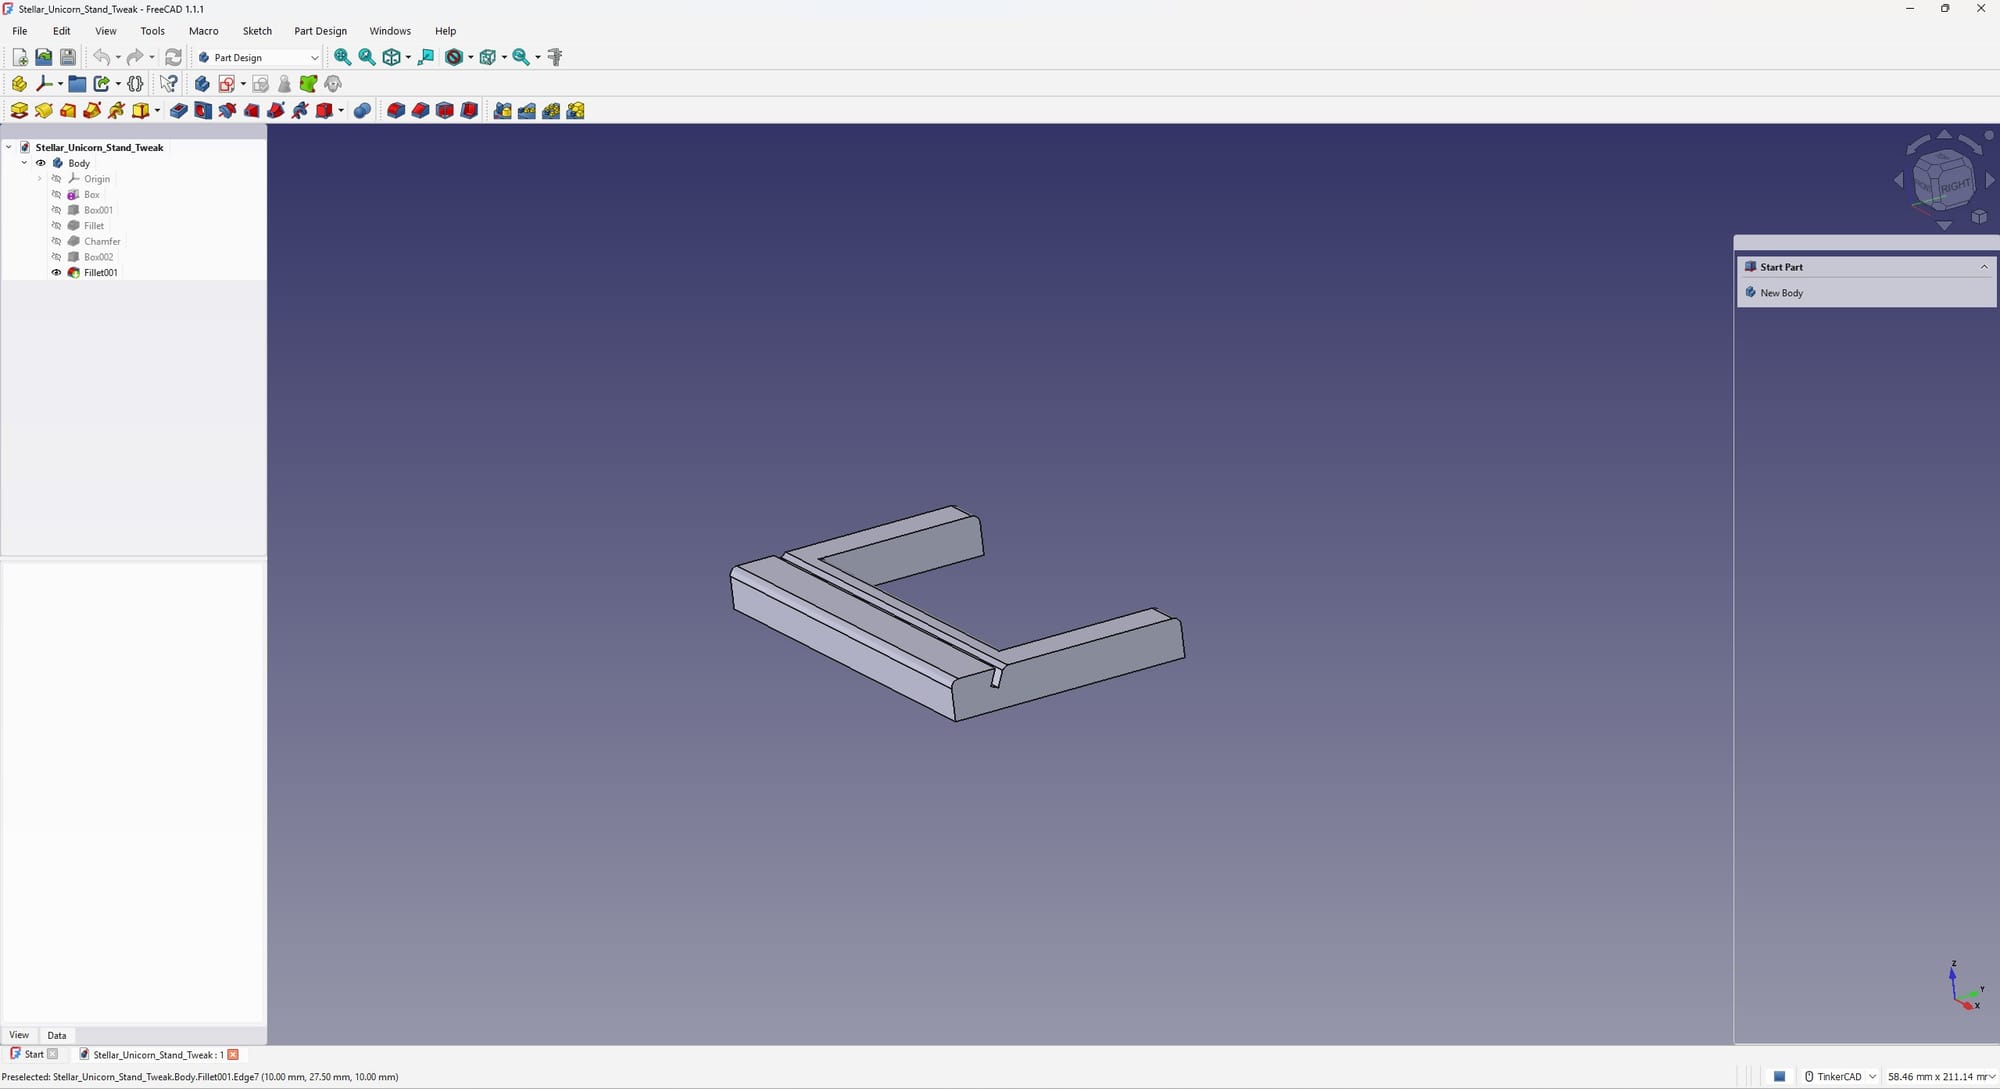
On first boot, FreeCAD has a bewildering array of tools, menus and options. After many YouTube videos I was directed to use the Part Design section.
In part design, I have a blank canvas on which I can design the stand and I started with a simple cube (an Additive Primitive in FreeCAD parlance), which I tweaked to the width of Stellar Unicorn, 108mm and then set the depth to 60mm. This is after testing with 20 and 40mm, the former being way to small and falling over, the latter being just enough but slightly wobbly. The height of the stand was set to 10mm, enough to hold Stellar Unicorn in place without adding too much to the print time.
Now I have a slab of virtual plastic, I need to add a cutout for Stellar Unicorn to rest in. The PCB is 1mm thick, so I used a box cutout, which FreeCAD calls a "Subtractive Primitive" that was wider than the width of the stand, 1mm thick and 6mm in depth.
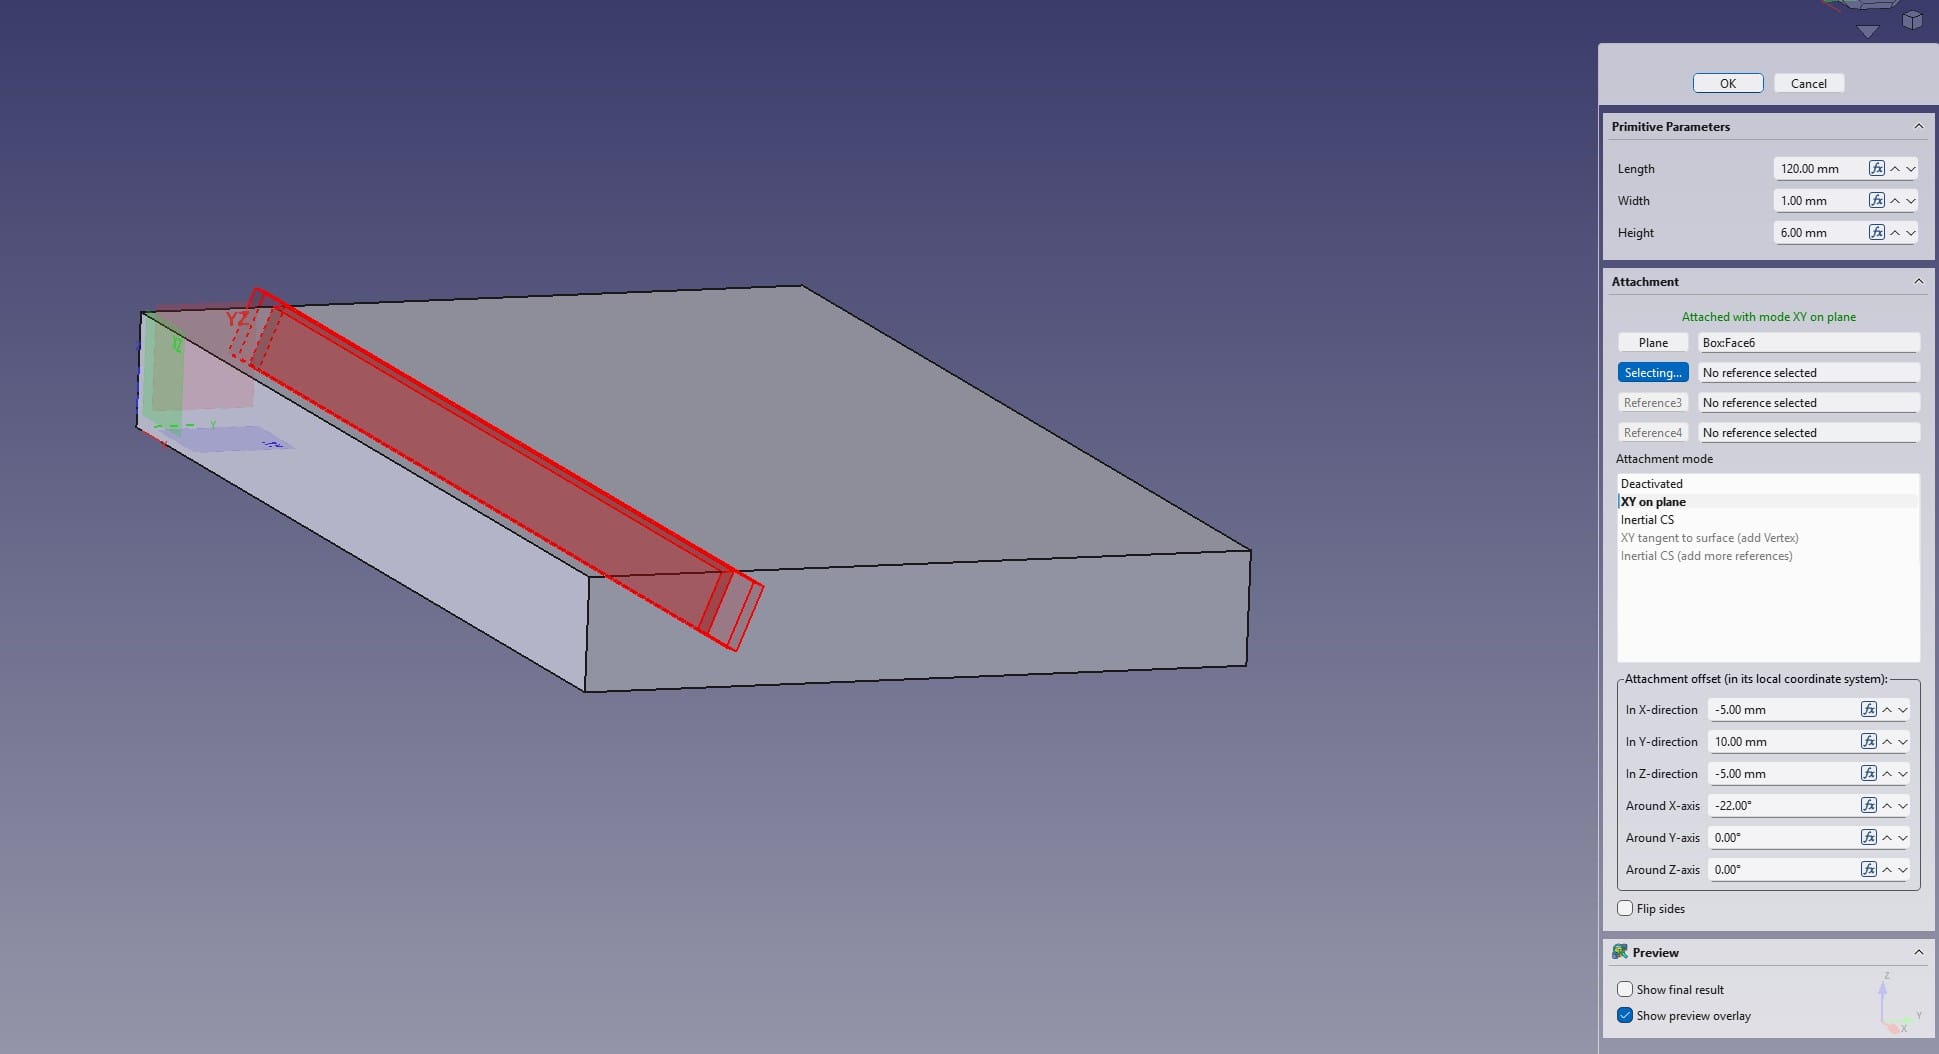
Using a Subtractive Primitive to remove a chunk from a design.
Then I rotated the cutout 22 degrees and dropped it into the stand, leaving 1mm sticking out. This created an angled cutout which would cradle the PCB.
I wanted to get a little fancy with some rounded edges. The sharp corners of a 3D print are nice, but don't feel "premium". I dug around the menu and found "Fillet".
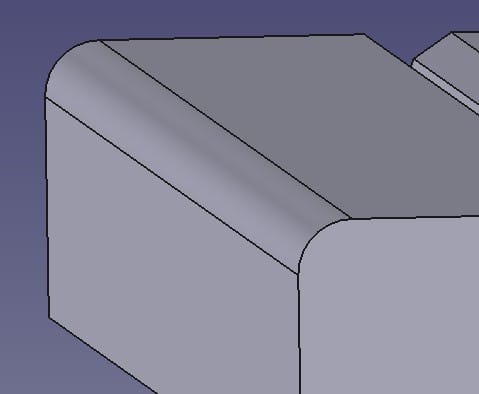
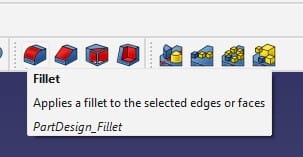
Adding a fillet to the edges.
With fillet, I can select an edge and then apply a rounding to it. This gives the object a nicer feel in the hand. I applied a 2mm fillet to the top front and back edges, leaving the bottom edges crisp for better print bed adhesion.
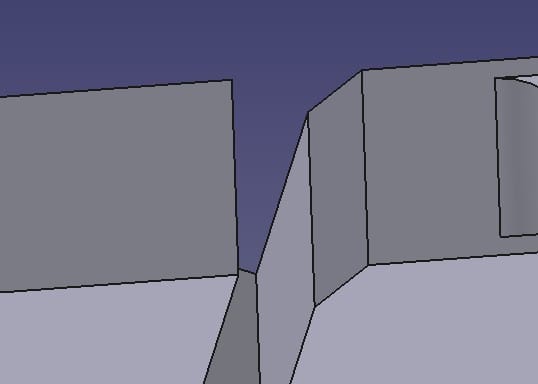
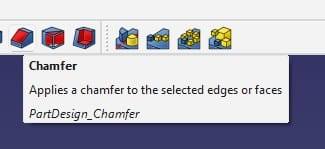
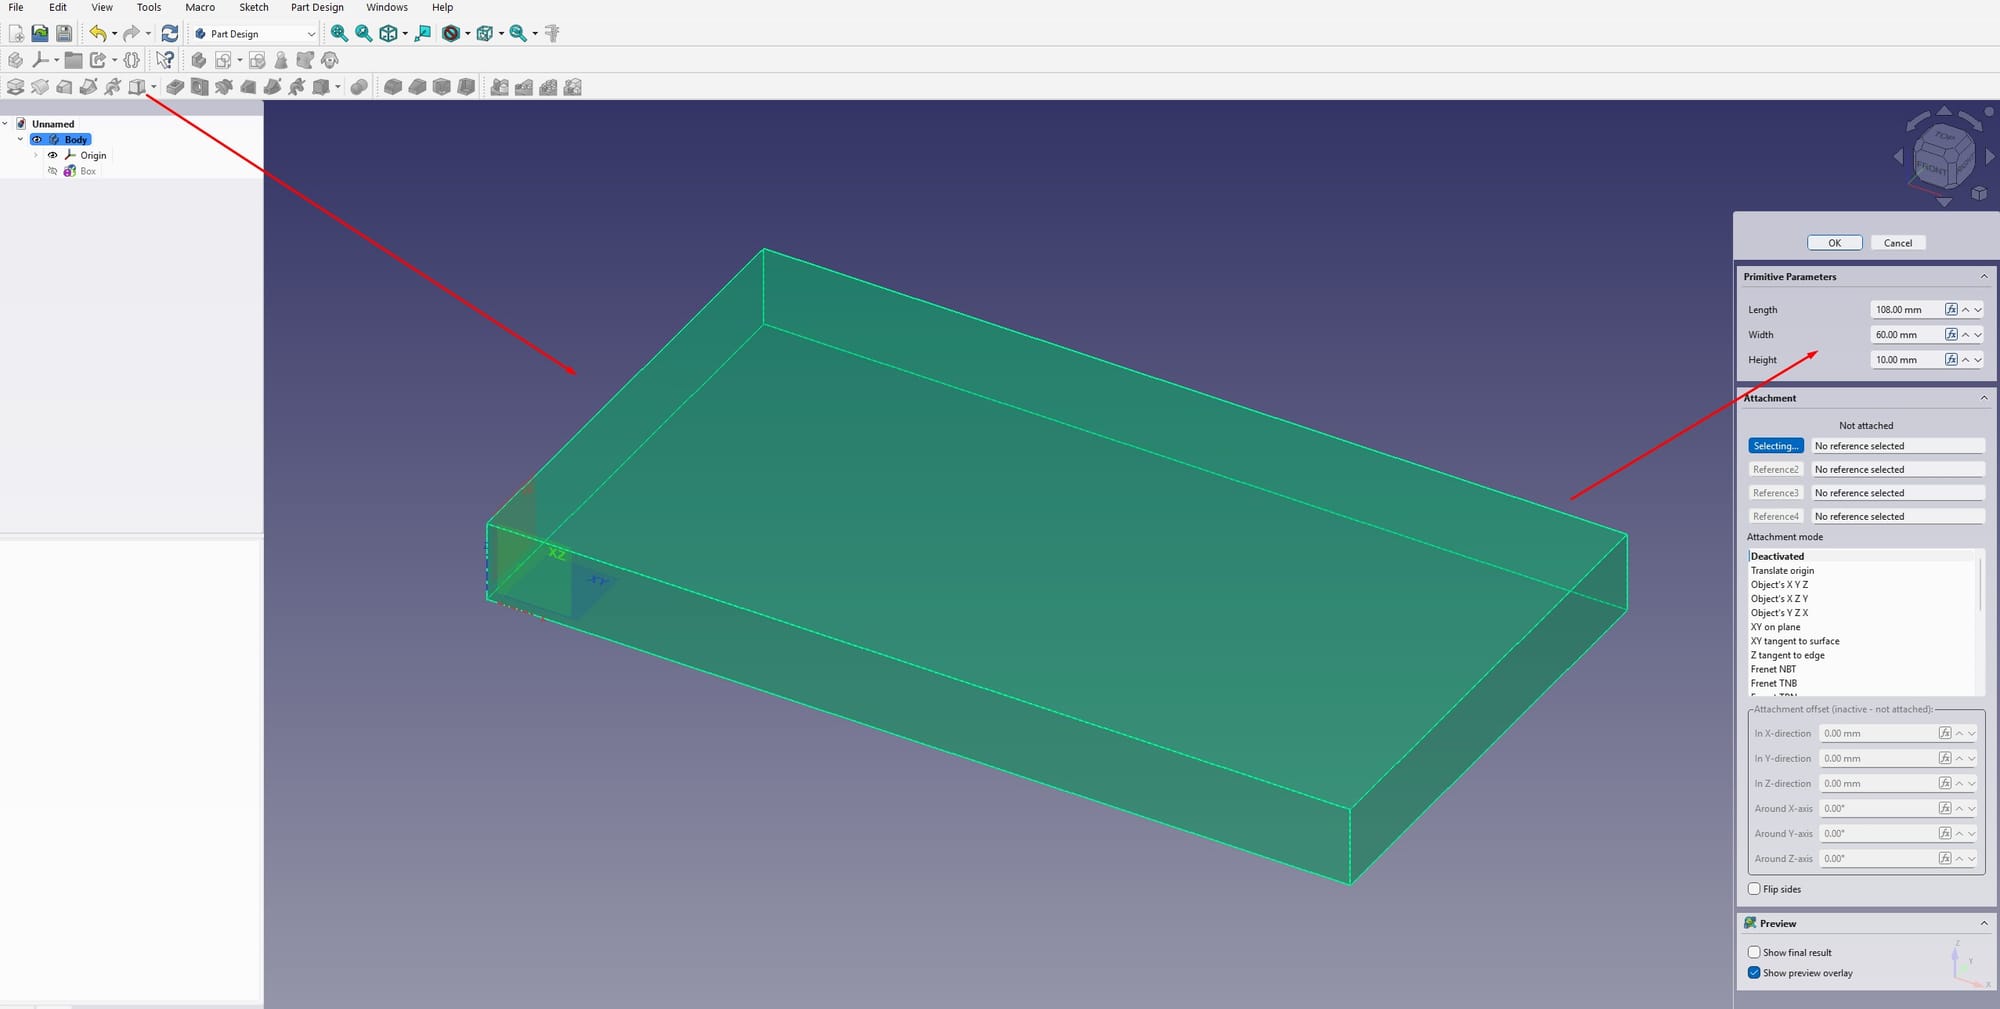
Adding a chamfer to the print.
For the cutout, I wanted to enable the board to slide in nice and easy, so I used a chamfer to add a small widening on one side. It also means that Stellar Unicorn can rest in the cutout while giving access to the reset button.
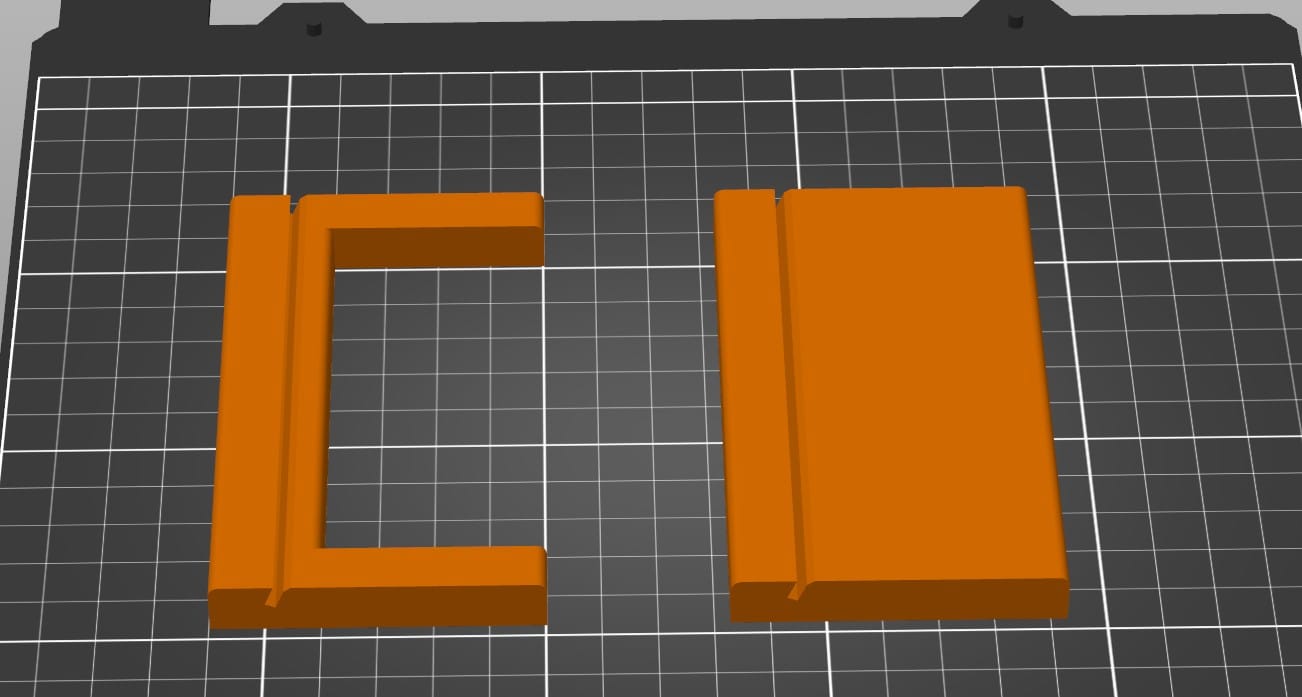
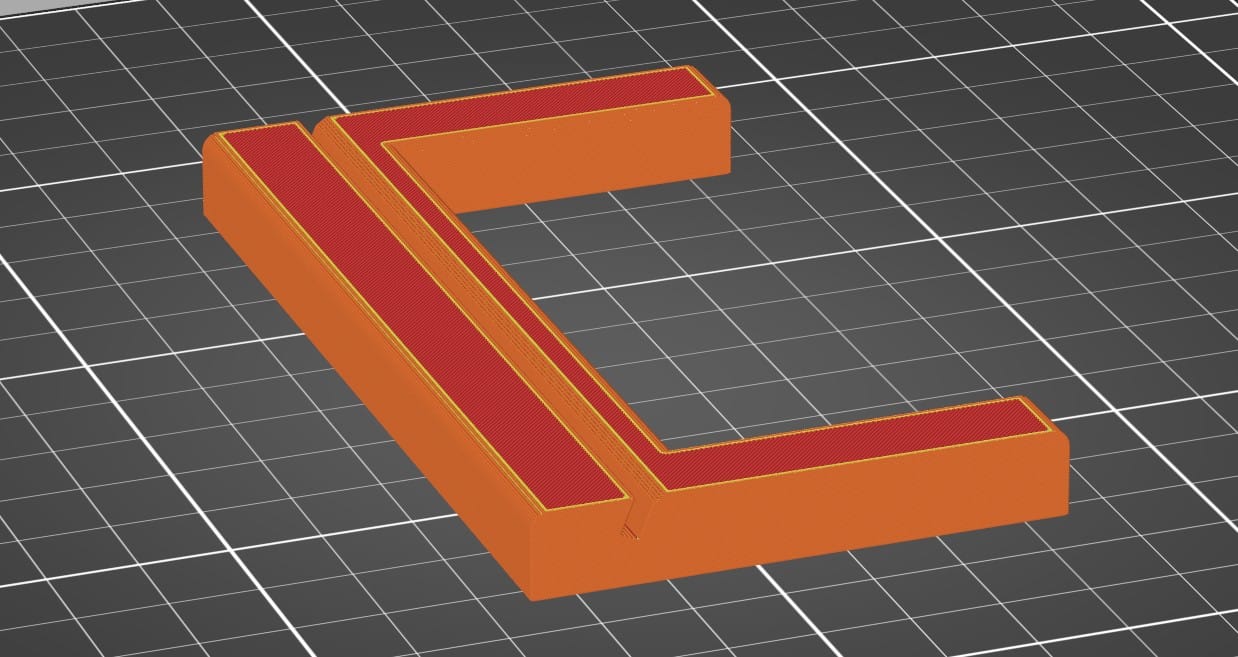
The next problem to solve? Waste! Wasted time and plastic to be specific. The 60mm depth, to prevent the doorbell toppling over, means lots of plastic. So I cutout an 88mm section from the rear width, and 40mm from the depth. This left the stand resembling the letter "C", but it gave me stability and used a lot less plastic (15.04 Grams versus 27.35 Grams). It also culled minutes off the print time! From 40 to 25 minutes!
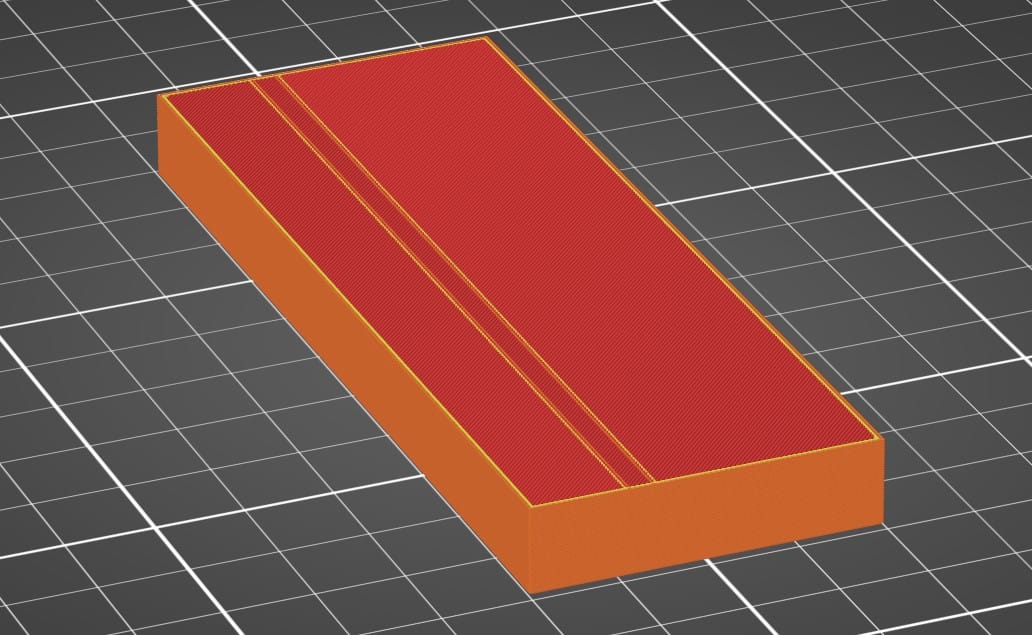
I had my designed my stand, now I wanted to 3D print it. But I needed an STL or STEP file. So I highlighted the model, went to File >> Export and selected STL. I opened PrusaSlicer and imported the STL. So, what happened here?
The problem was that I had not selected the body. Why? Because I didn't know! Highlighting the model in the editor is different to clicking on Body in the model menu.
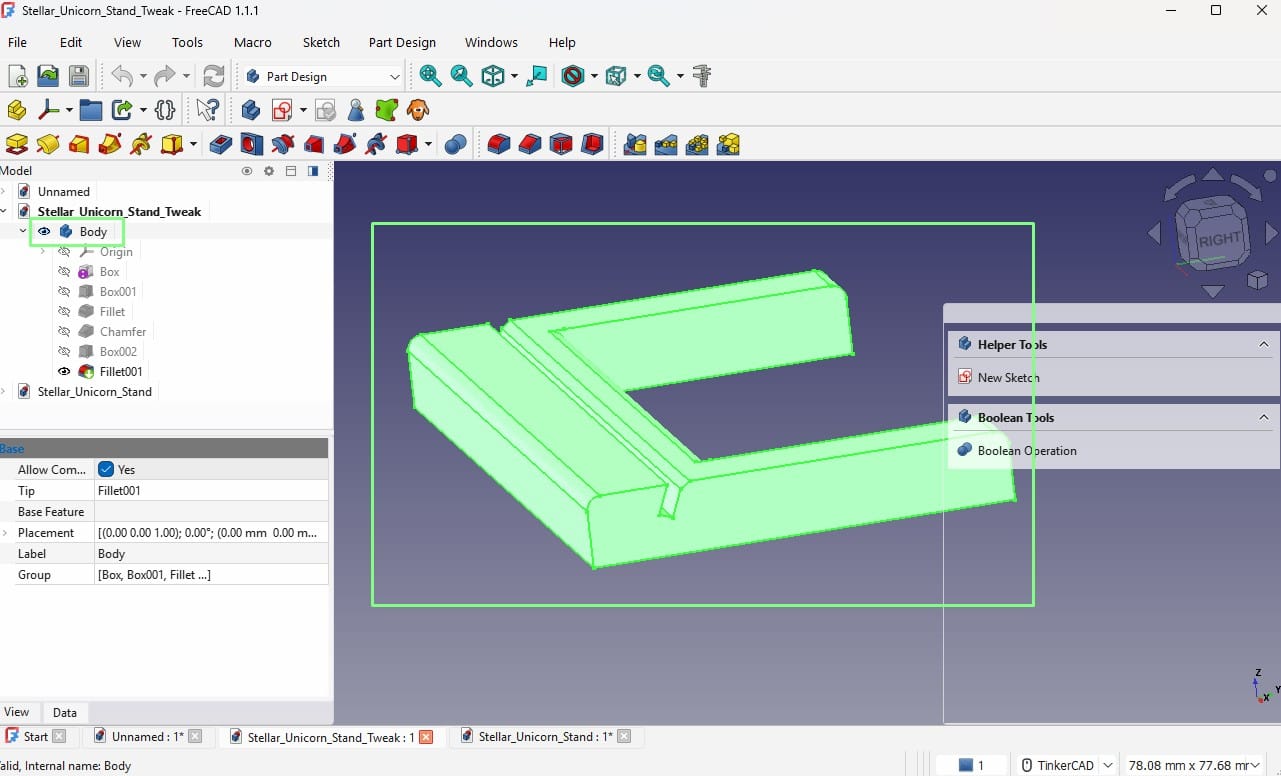
From the Model menu, click on Body and it will select the object to export. Now go to File >> Export and save the file as an STL or STEP. Open it in your slicer and hey presto!
What 3D printer am I using? I recently got a Prusa CORE One+ for work, and this is the first test project on what will be a series of projects that merge Pimoroni tech with 3D printing!
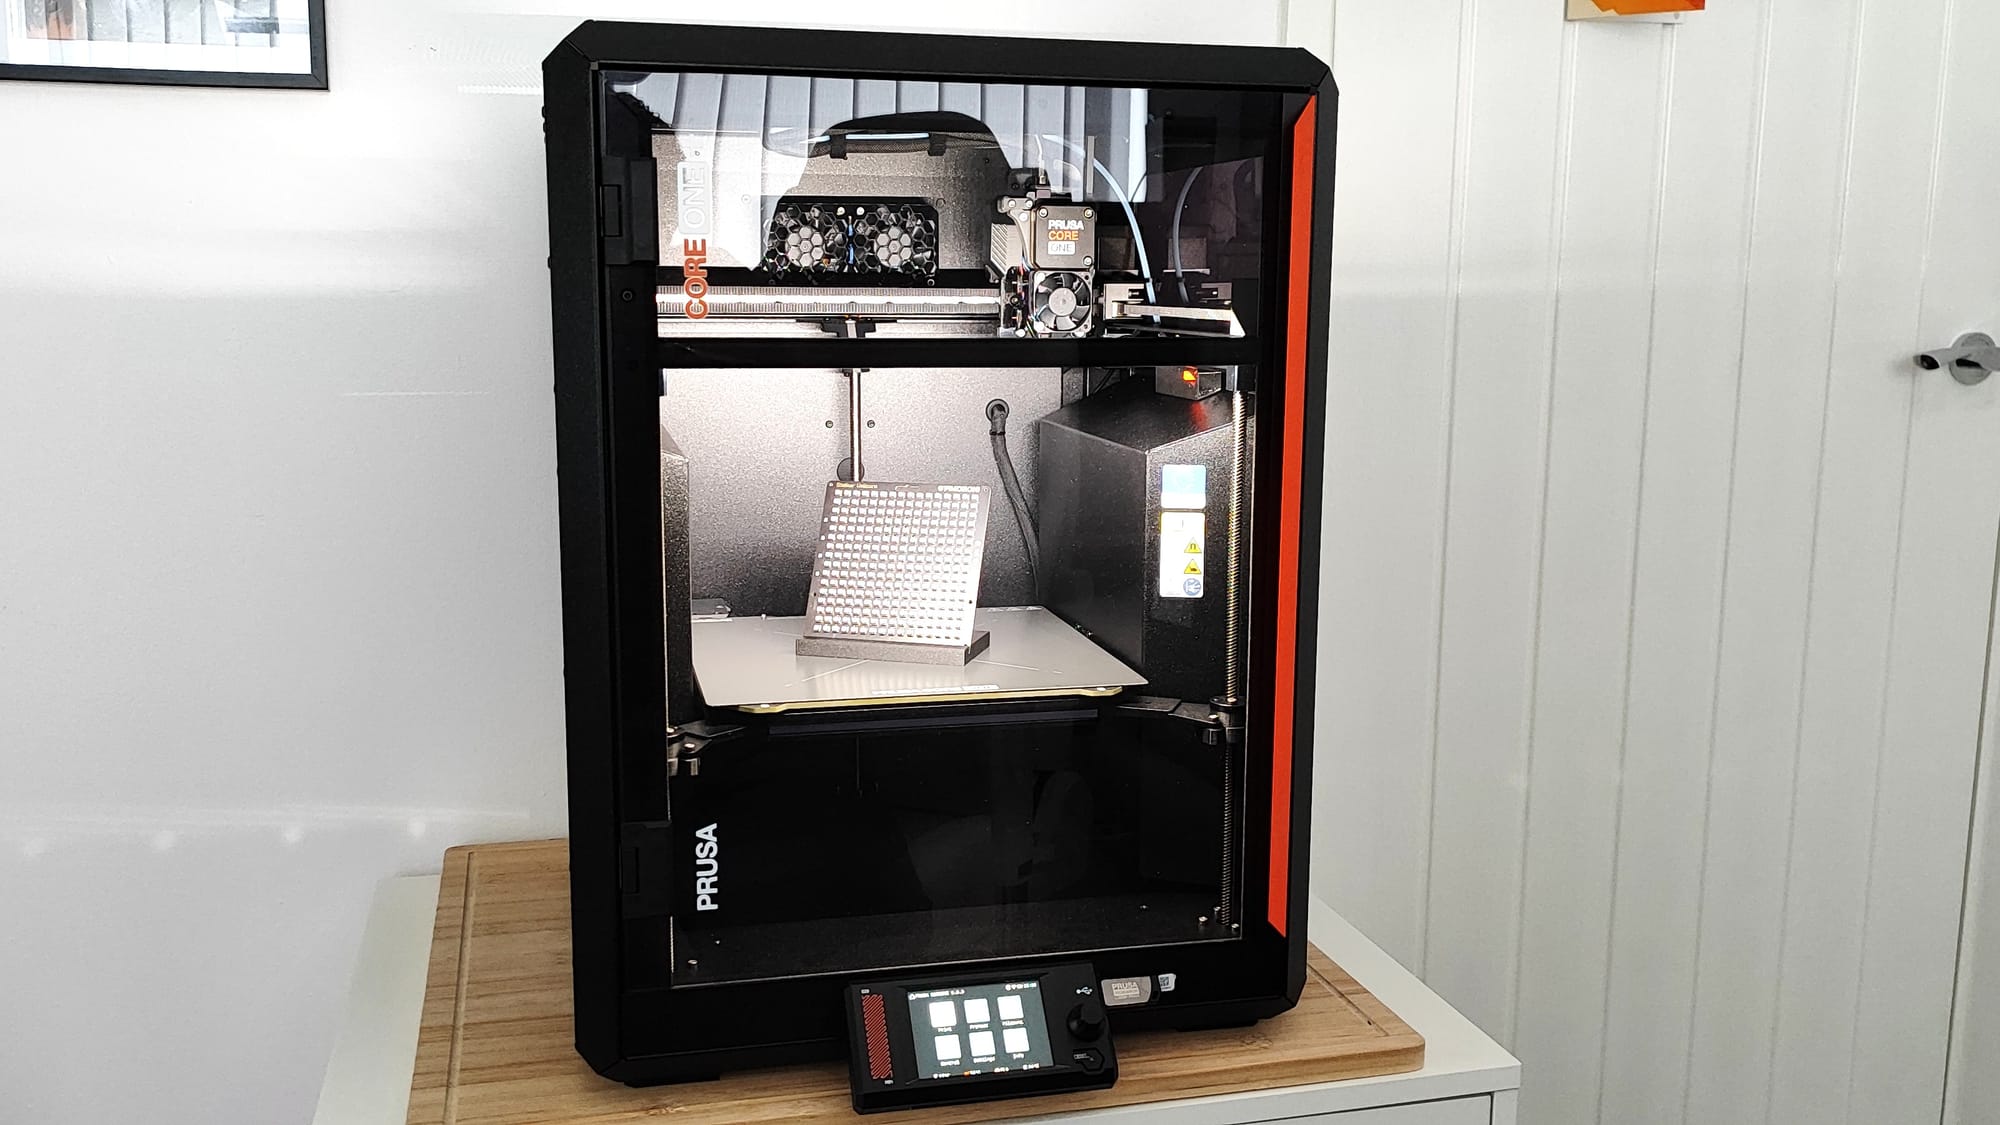
Prusa CORE One+
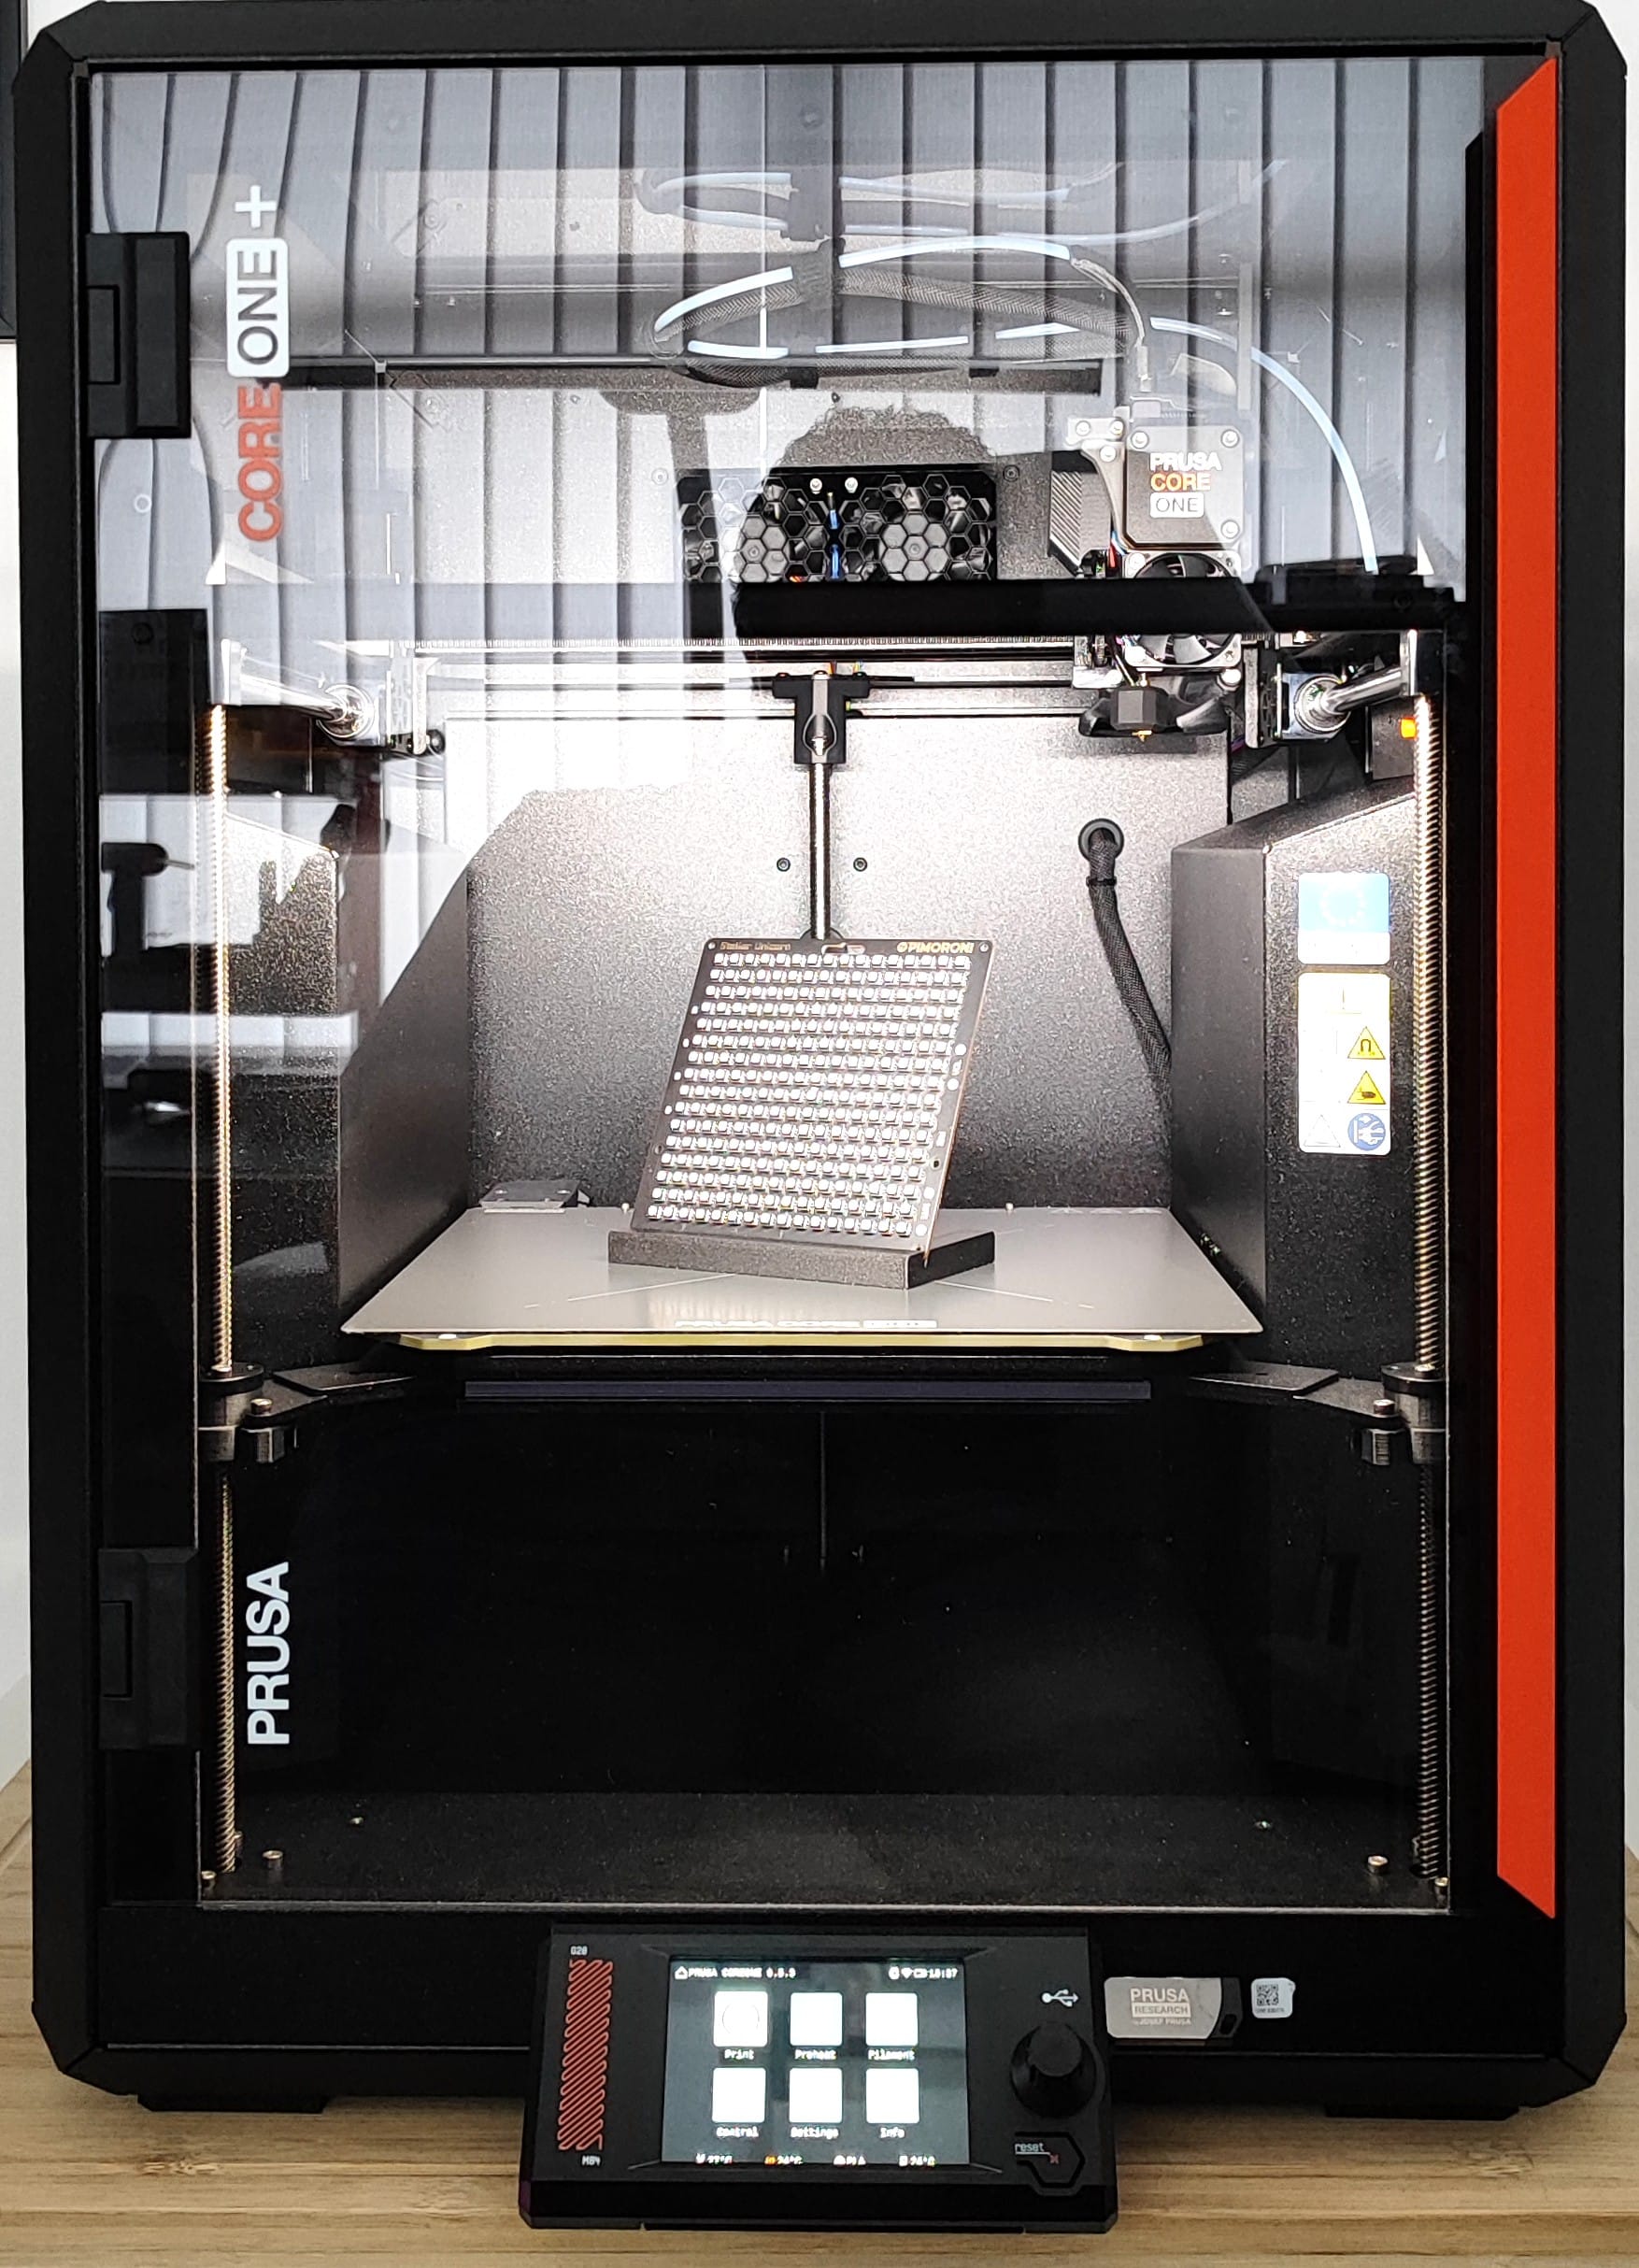
Find out more about the Prusa CORE One+ 3D printer on the official Prusa website.
There were many iterations before I got to this "final" design. I dare say that this is not the final version but I've uploaded it to Printables for anyone to download and print.
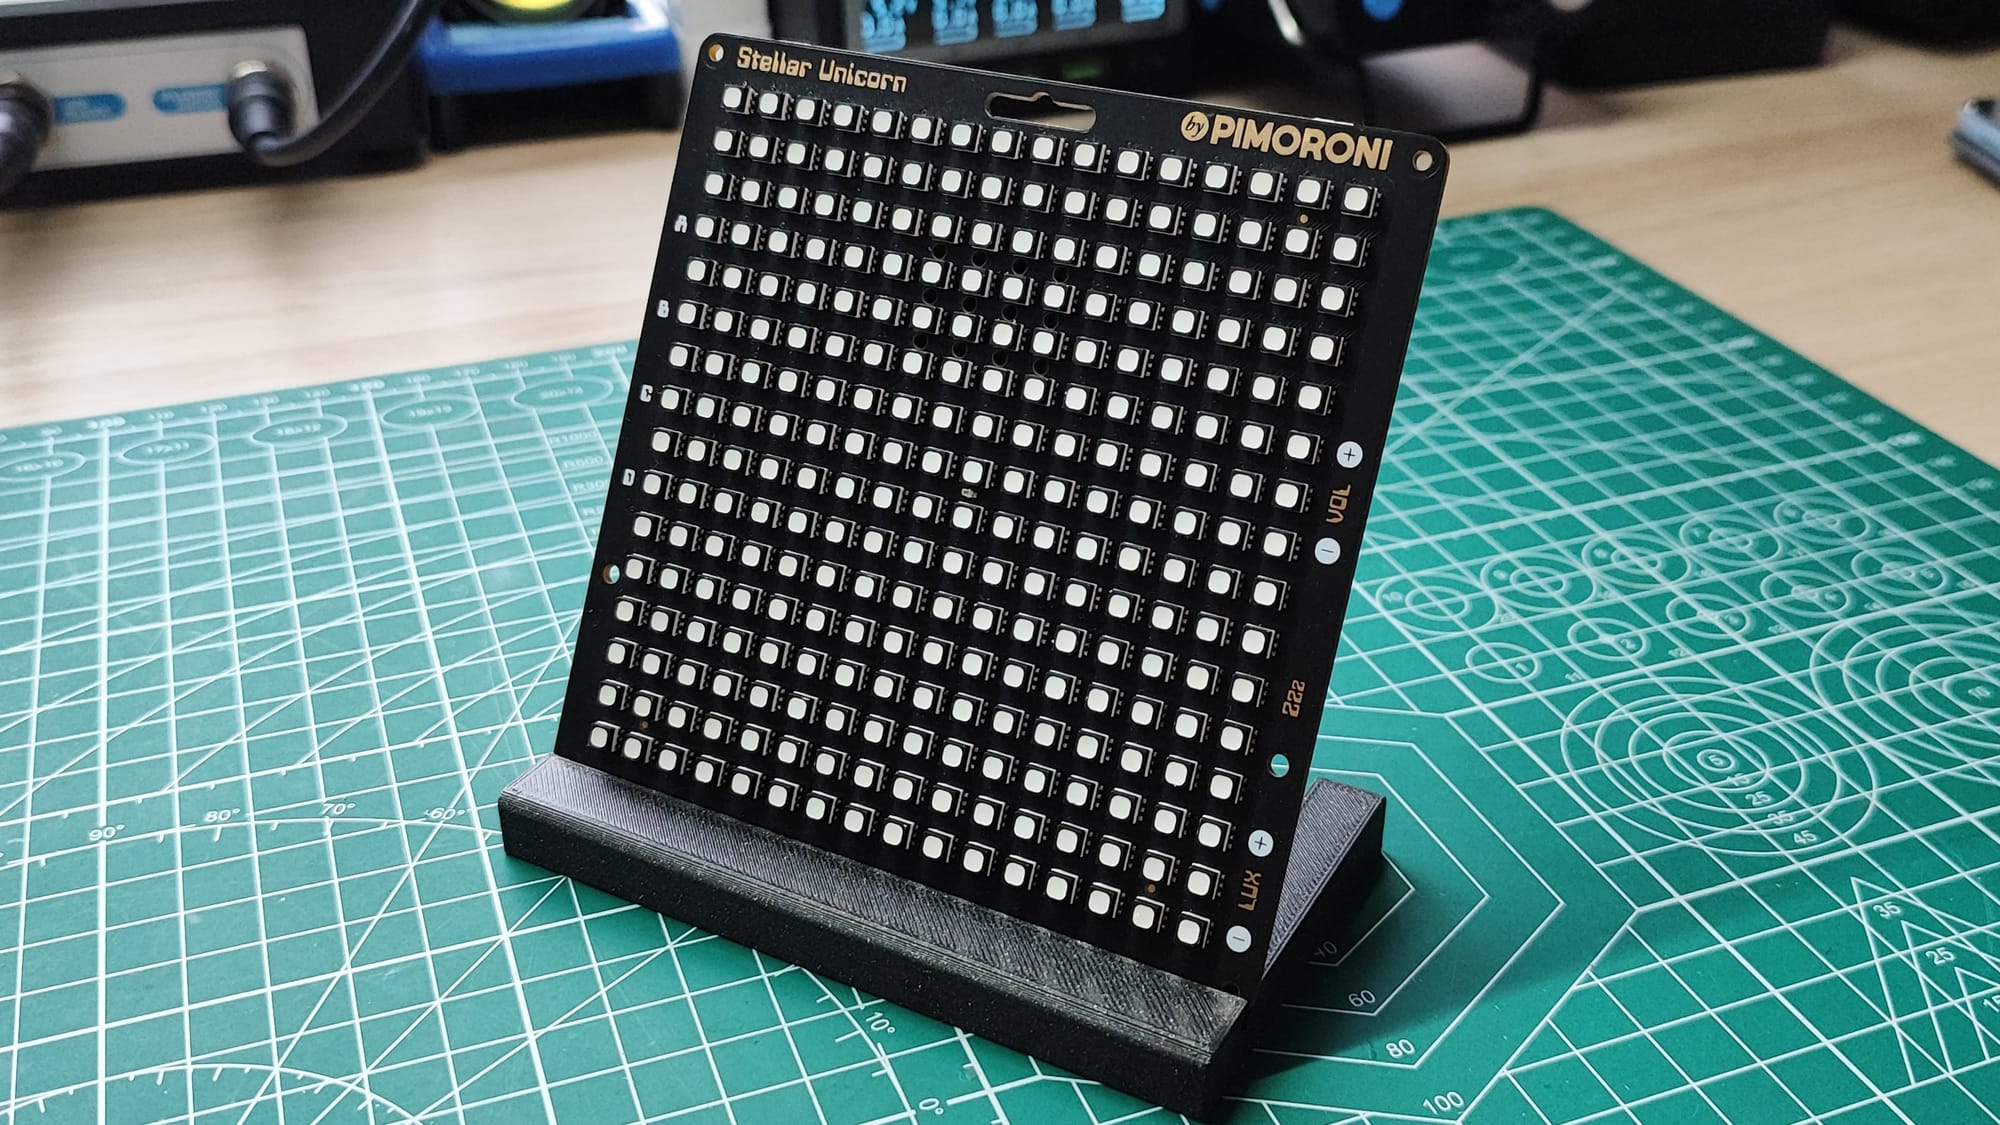

Download your own Stellar Unicorn stand from our Printables page.