We've had an old, broken Roberts R600 radio (albeit in very good condition otherwise) lying around the office for quite a while. The R600 was manufactured by Roberts between 1968 and 1973, meaning that our radio is almost 50 years old!
You can check out the original datasheet for the radio here - it's fascinating!
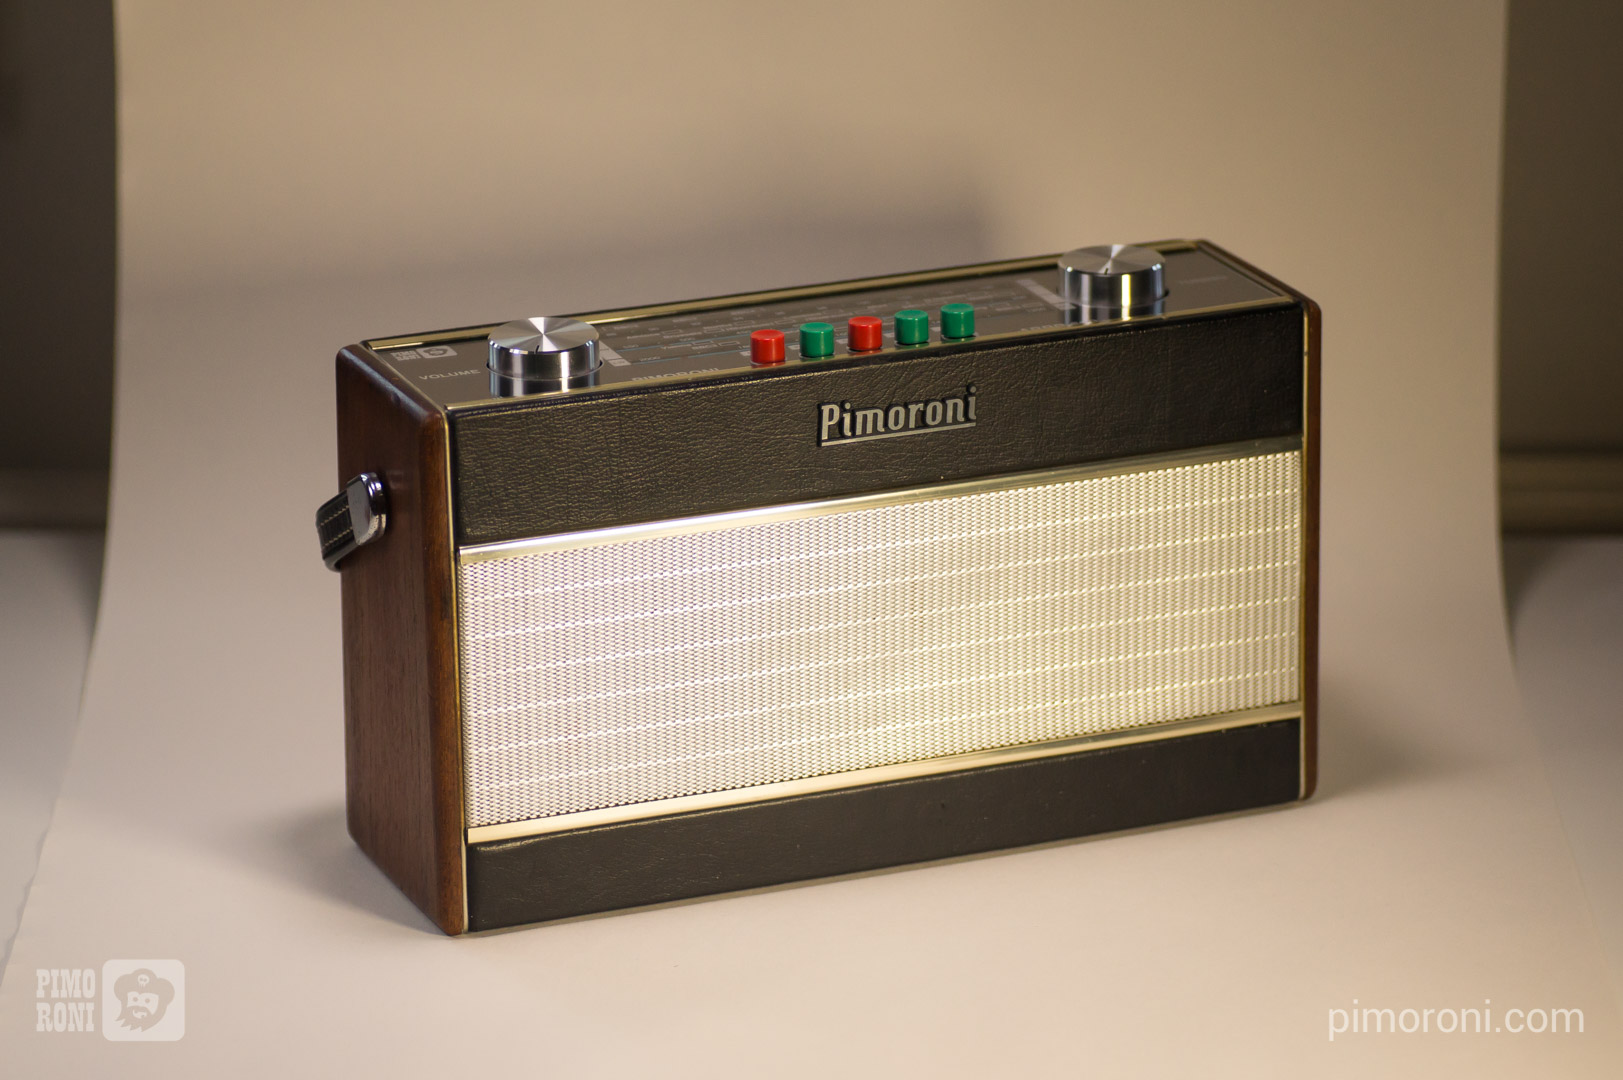
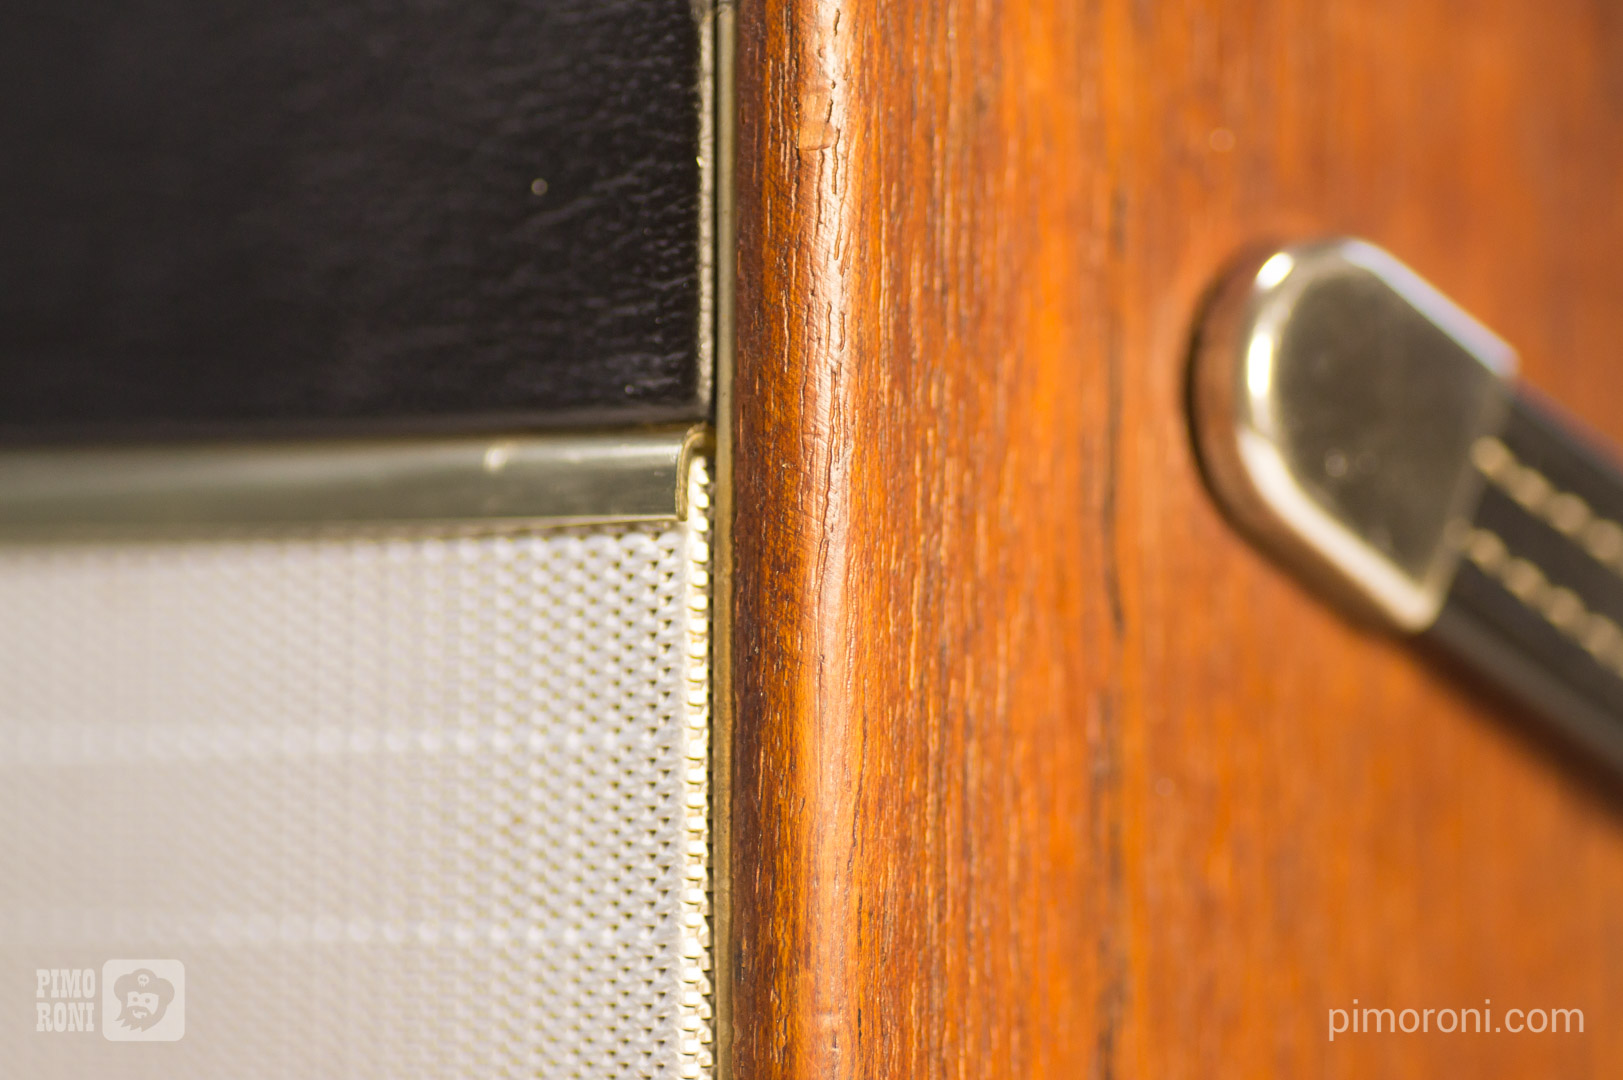
The radio itself is made mostly from wood, with black leather trim, and teak (we think) sides. There's a wire mesh on the front, covering the speaker hole, and this is the only part of the radio that has seen better days; it's slightly dented in front of the speaker hole since that part isn't protected by wood behind it.
The wood and leather, however, were in great nick, and looked especially good after a good clean and polish.
The top panel with the tuning markings, etc. was also a bit scratched up and grubby, so we decided to replace that. It consisted of a top clear layer with colour-printed text on the back and cutouts for the buttons and dials.
Dissecting it
We'd decided that we were going to keep just the speaker, and remove everything else from inside. Once refurbished, the speaker would be driven by a Speaker pHAT connected to a Pi Zero, the buttons connected straight to the Pi's GPIO, and the dials connected to the ADC (analogue to digital converter) on an Enviro pHAT.
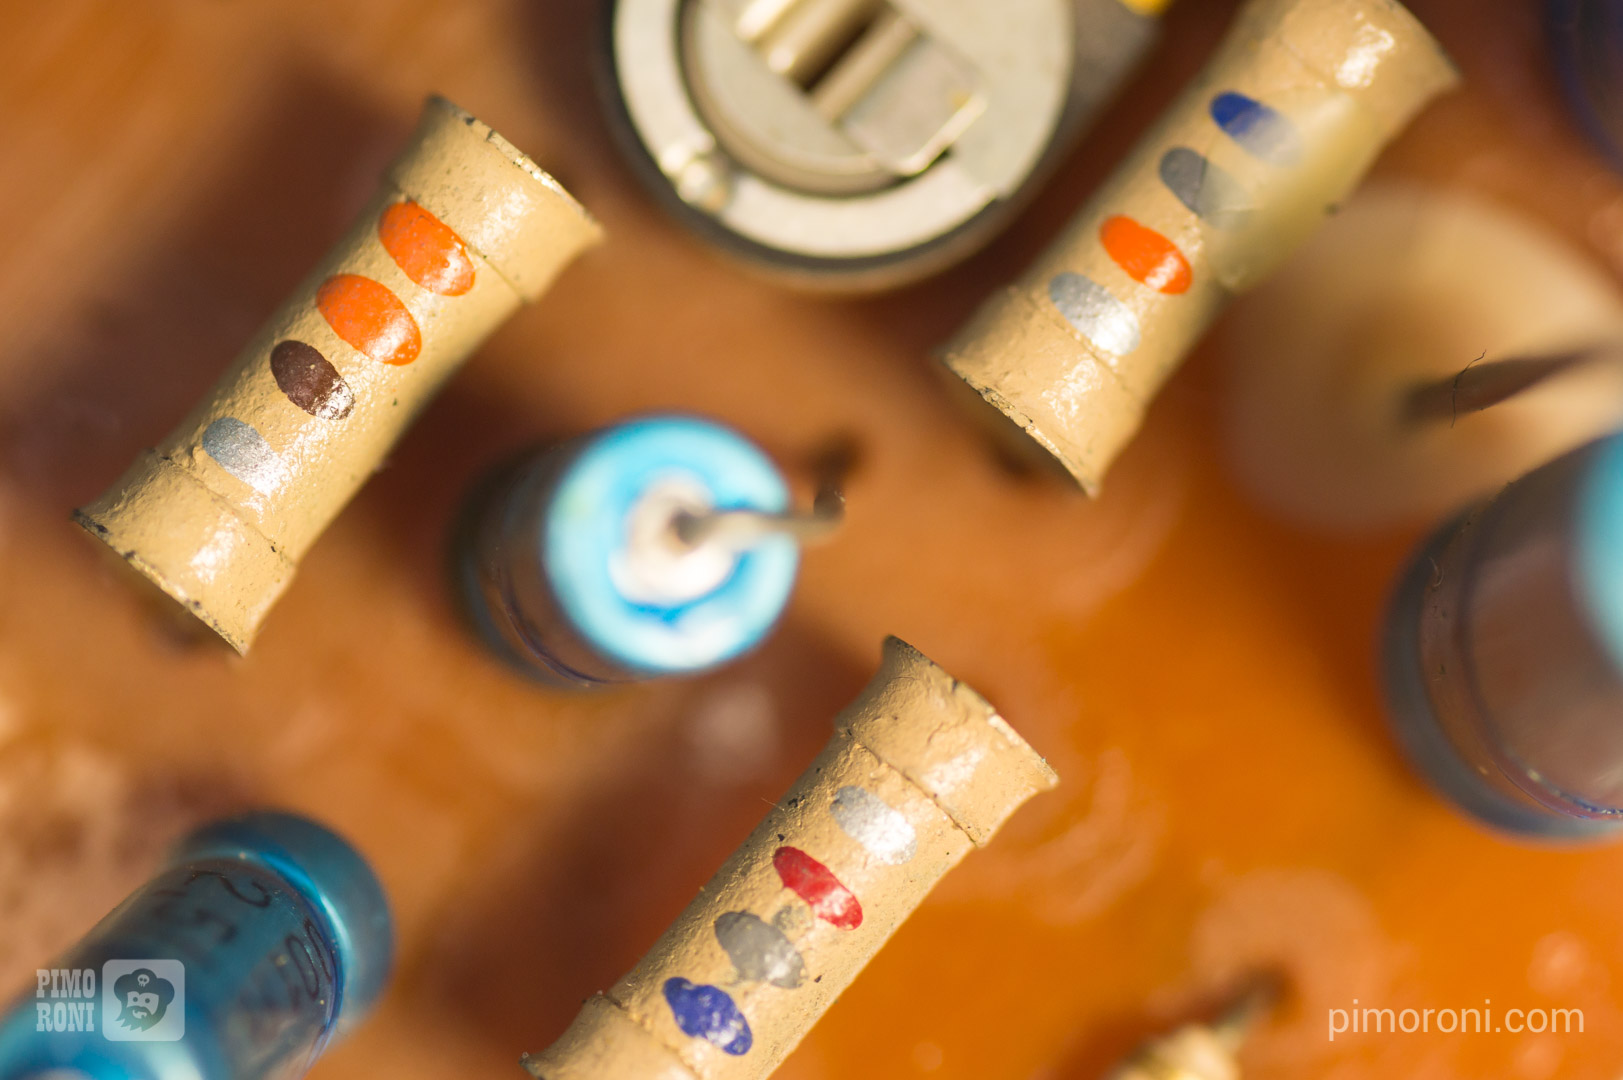
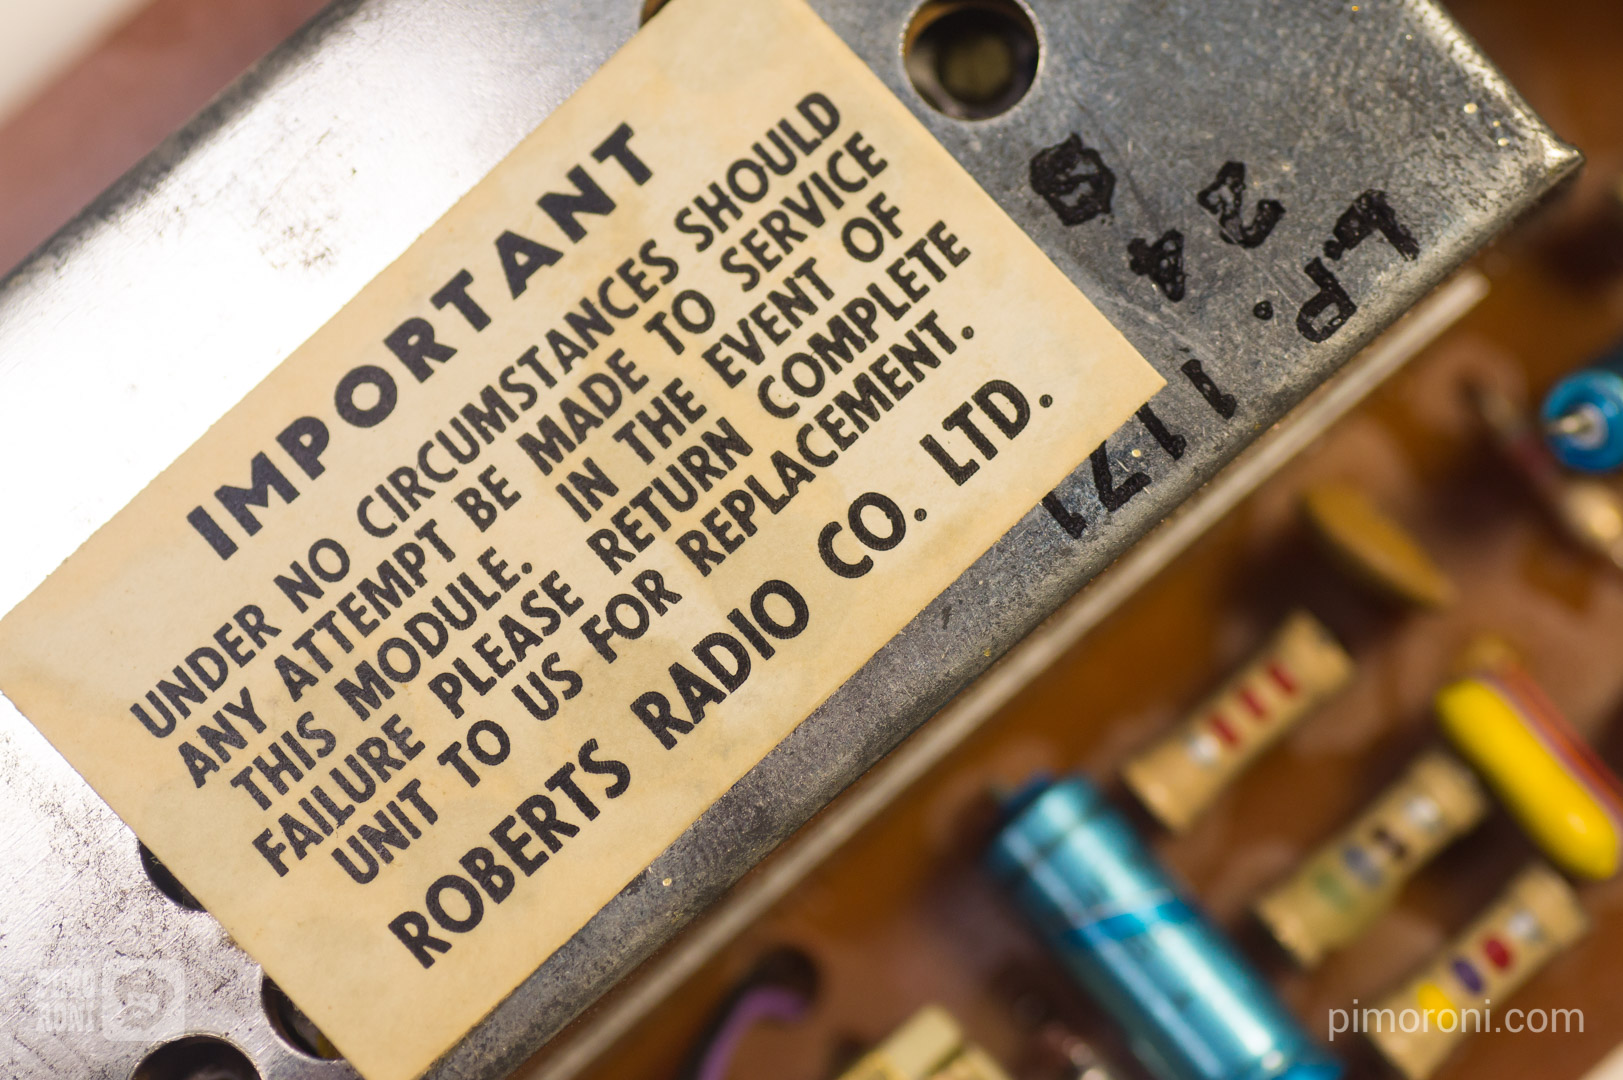
Inside, the R600 really was a marvel. The circuit boards look to have been hand-drawn, and the resistors and capacitors have hand-painted bands on. Most of the space inside was taken up by the ferrite rod aerial for AM and SW radio, and the speaker.
It was fairly straightforward to remove all of the guts, after removing a dozen or so screws. It's worth noting that you should take some care when desoldering the wires from the speakers, and the solder joint holding the circuitry to the metal part of the chassis, since it will be lead solder. We used a separate soldering iron tip and discarded it after use.
A new top panel
We wanted to make the refurbished radio look as much like the original radio as possible - no flashy LEDs or LCD displays or anything - but give it a bit of a Pimoroni re-branding.
As we said, the top panel was in a bit of a poor state of repair, with scratched up knobs and station marker stickers stuck fast. We laser cut a completely new top panel with a clear top layer with tuning markings and "Pimoroni ARRR600" branding etched on the back, a black layer behind to give the etching some contrast, and a teal blue layer behind with a fake red tuning stick.
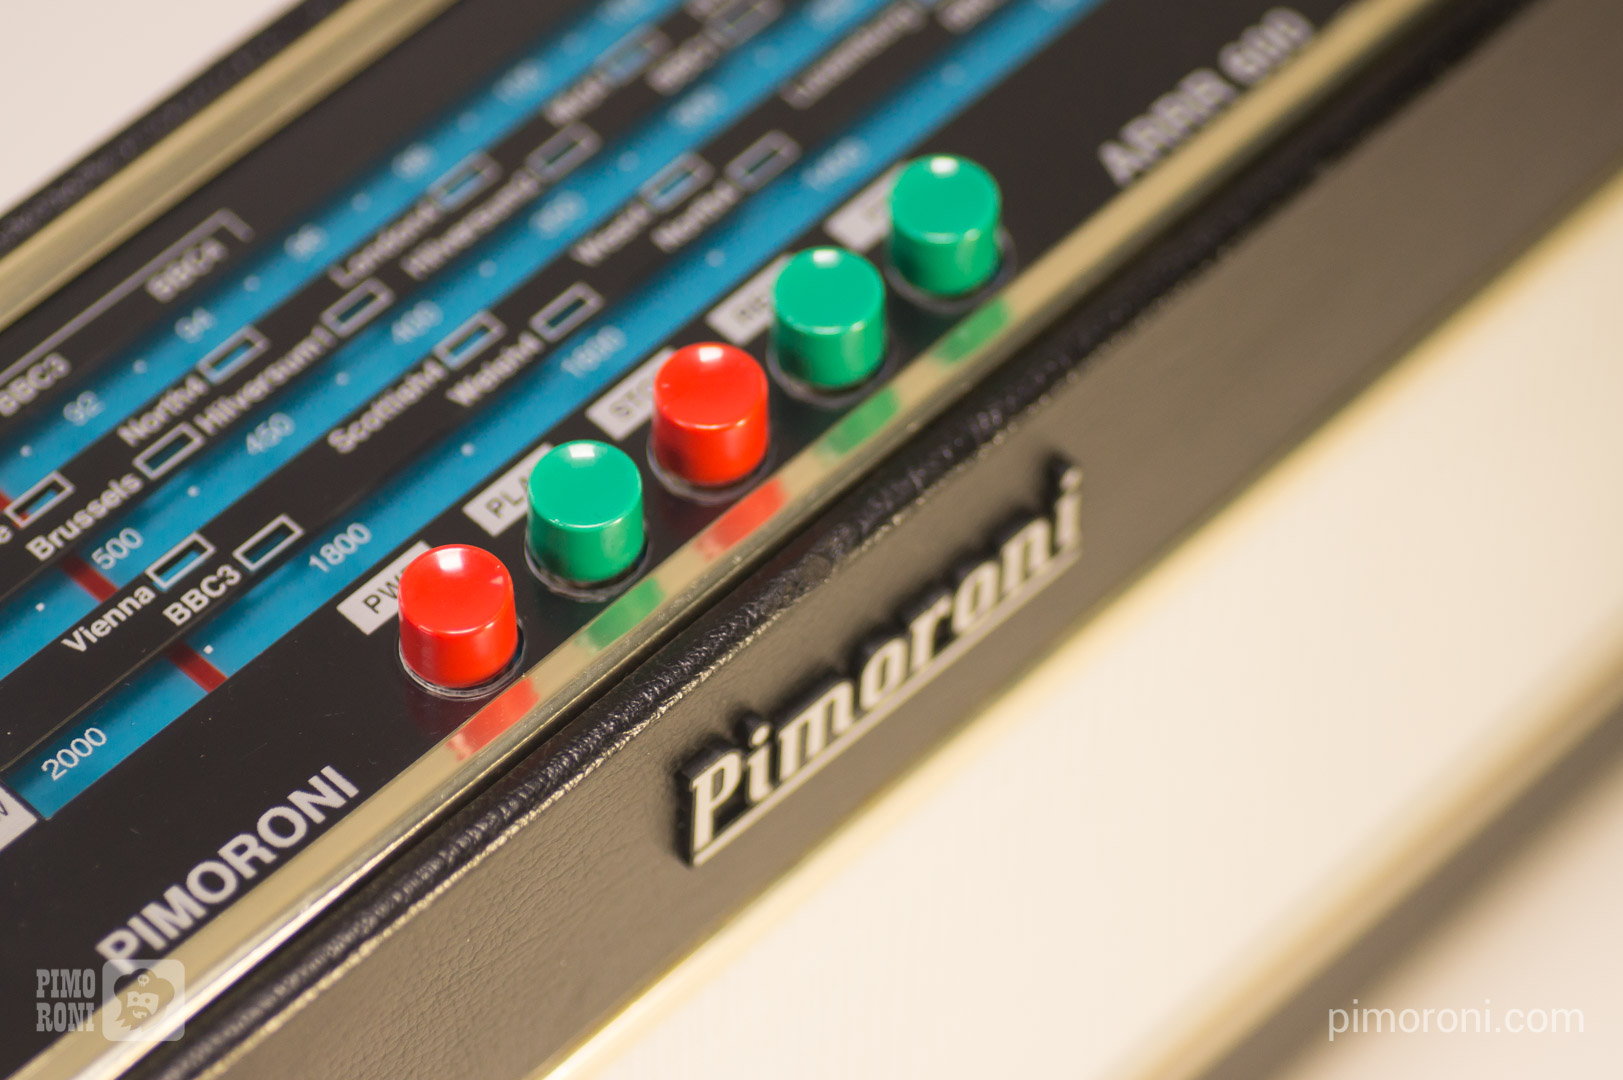
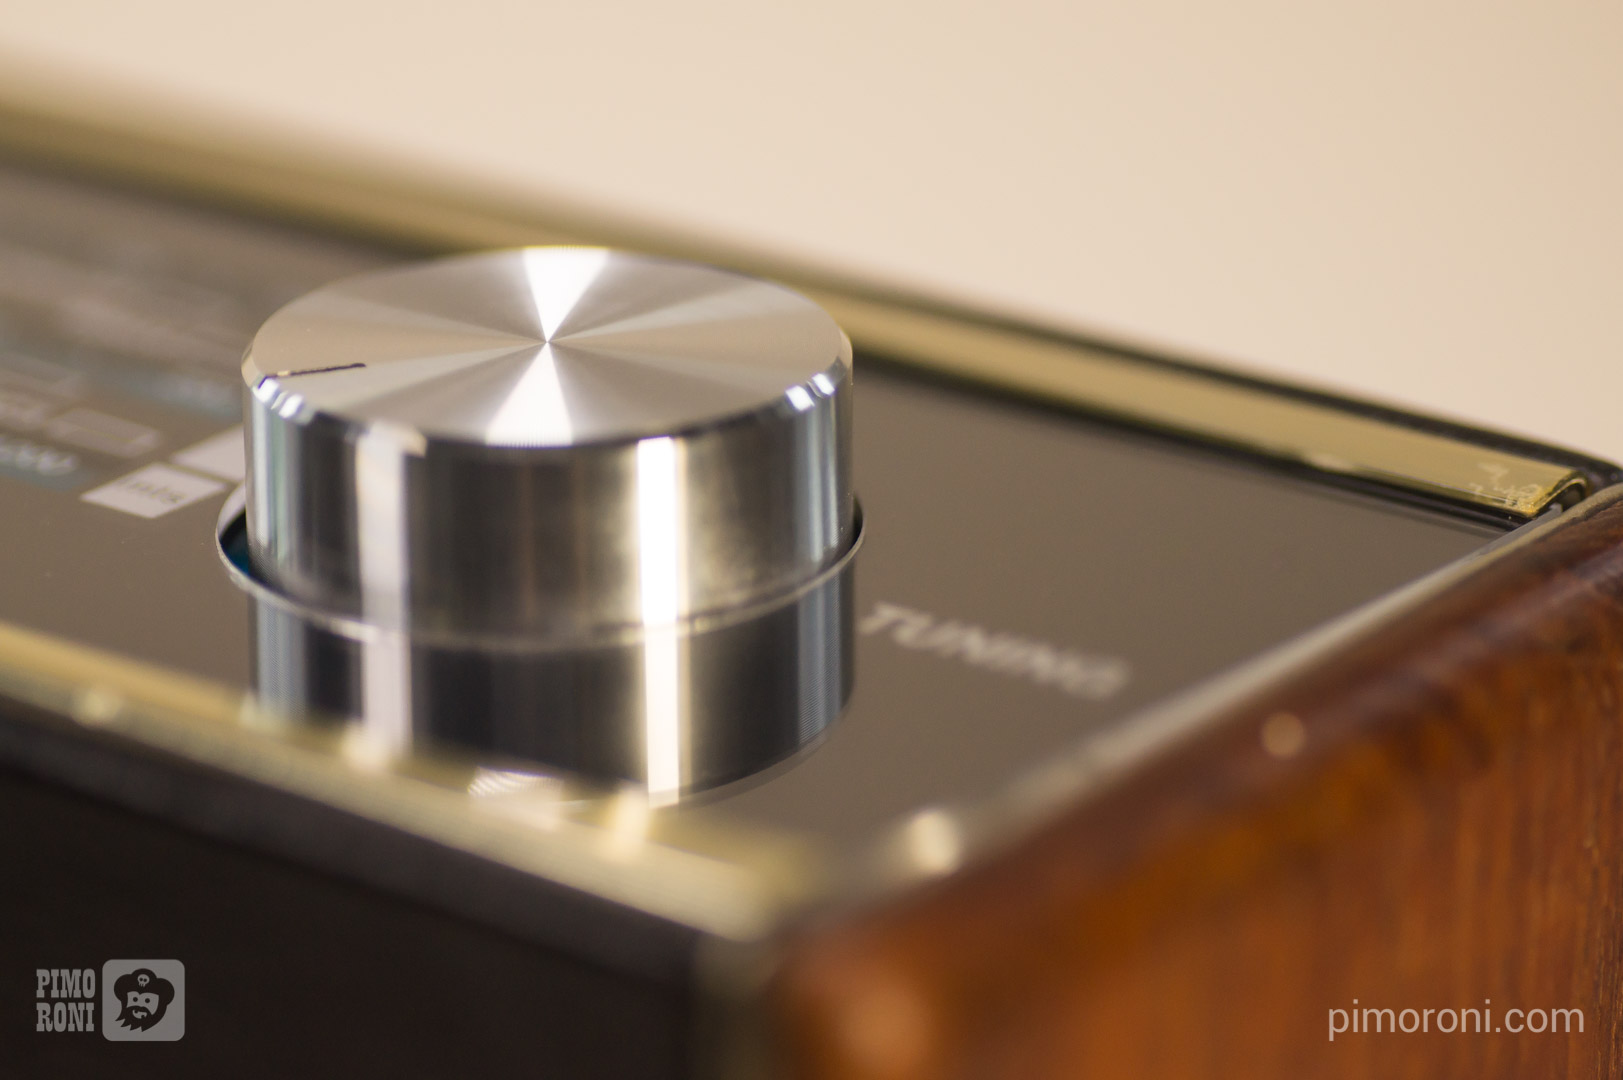
We also fitted some new rotary potentiometers and mini momentary push buttons, caps and brushed aluminium knobs from RS Components.
A shiny new badge
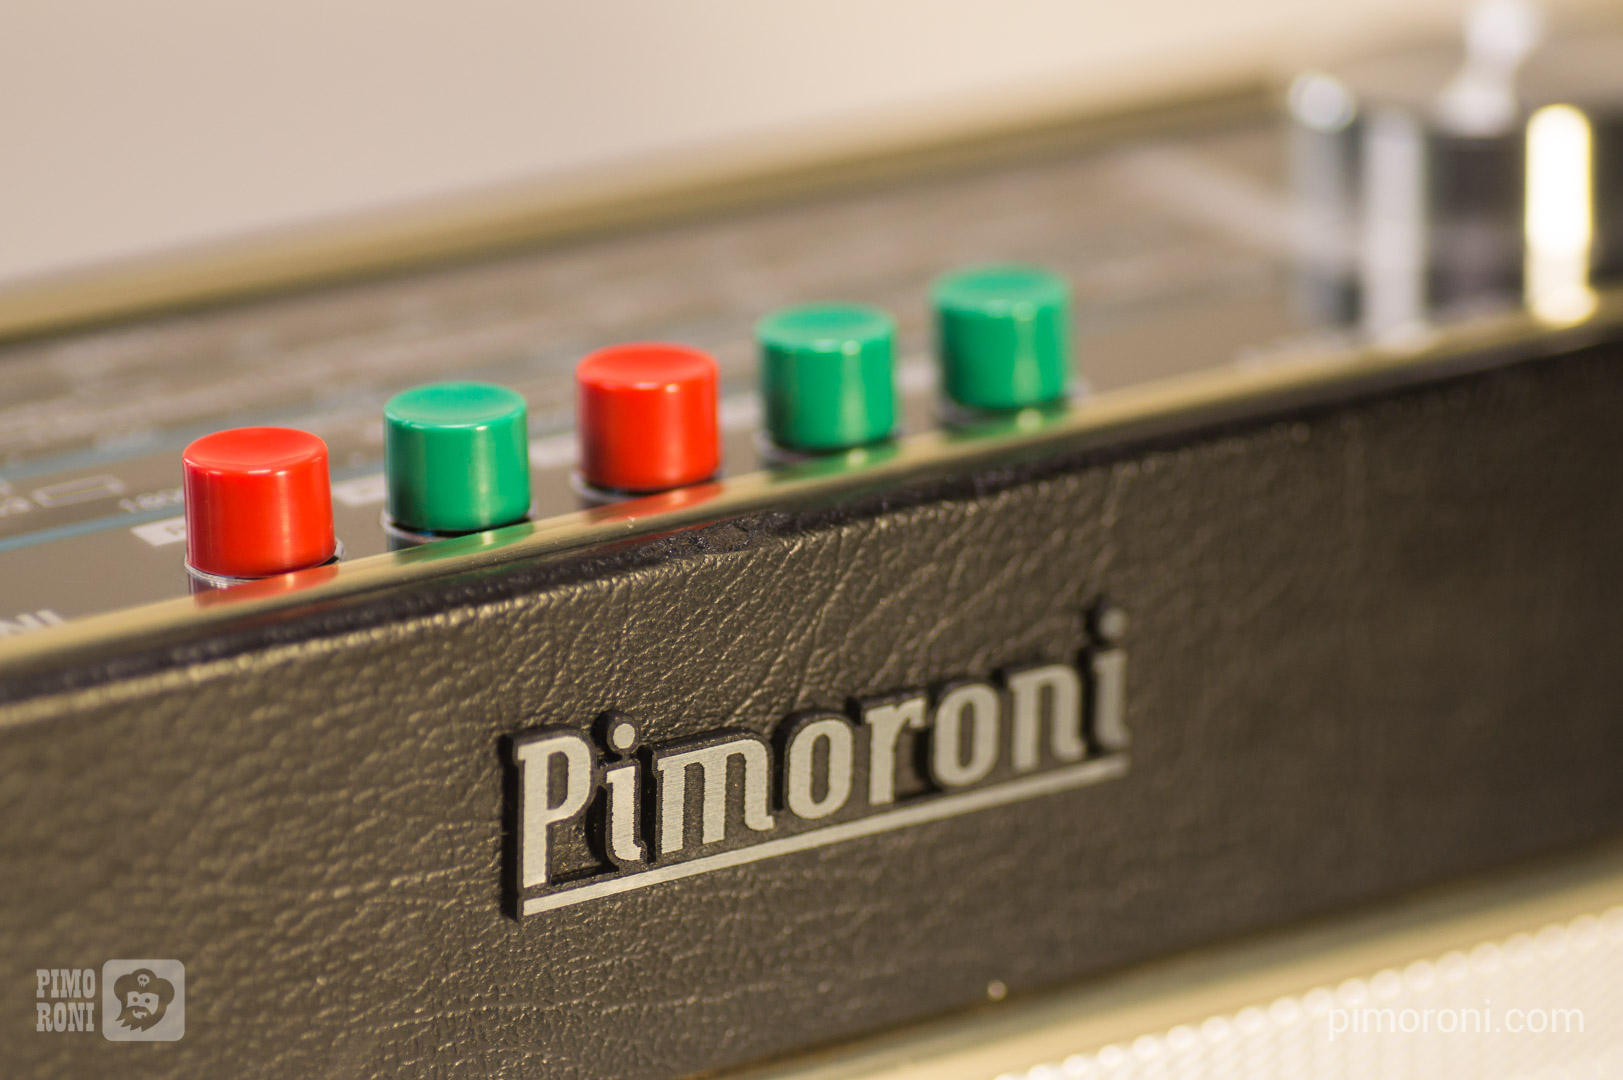
We found some brushed steel etching acrylic - that you etch to reveal the black underneath - that would be ideal for making a new badge for the front. The suitably retro Hamburger Heaven font on dafont.com was perfect.
The original badge was fairly simple to remove with a bit of careful spudging. After etching and cutting the new badge, we stuck it on with some epoxy glue, making sure to line it up with where the original badge was to hide the slightly discoloured leather below.
The new brains
We added a new clear acrylic bottom panel, exactly the same size as the original one, with mounting holes for the Pi Zero, Speaker pHAT, and Enviro pHAT.
To save running a cable in through the bottom panel, we cut a new back plate to replace the original white painted mesh back panel that served as a back vent for sound, and panel-mounted a USB A to micro B cable to it to power the Pi Zero.
All that was left to do was to wire everything up. We used some solid core wire to connect up the appropriate pins on the Pi Zero, Speaker pHAT, and Enviro pHAT, and the buttons and potentiometers, and then soldered new wires between the speaker and Speaker pHAT, et voila!

We used the Volumio OS, which makes it a breeze to stream internet radio or Spotify, or play local music files. It even has a plugin for GPIO buttons, making it simple to get our new buttons working. All that remains is to write a little daemon to poll the potentiometers and pass the resulting data to Volumio to control the volume and internet radio station.
The end result
We're delighted with the end result. It works a treat, and the original speaker really has some oomph! Most importantly, it still looks like a classic radio, albeit with a Pimoroni twist!