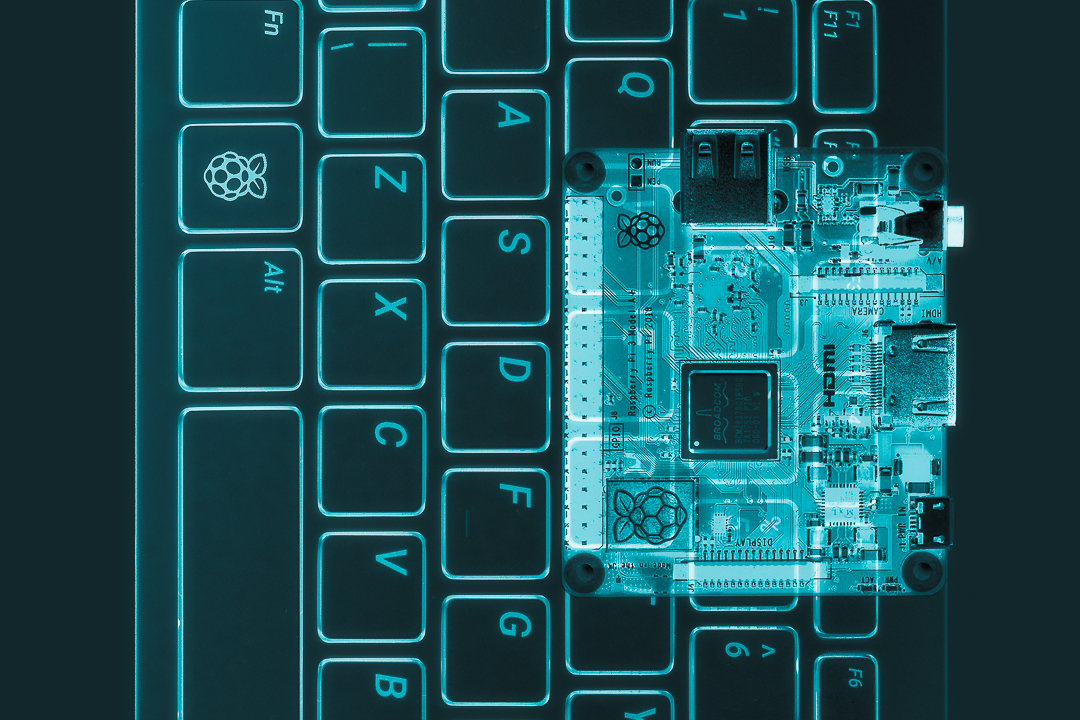
Could it be the world's first quad core keyboard?!
When the Raspberry Pi keyboard was announced, we saw a couple of tweets saying "Hmm... I wonder if there's space for a Raspberry Pi Zero inside..." so, as soon as we got our hands on one, we cracked it open to take a look inside. It turns out that there's more than enough room, but that was far too easy, so we thought we'd go one step further and put a Raspberry Pi 3 A+ in it!
You can buy the new Raspberry Pi keyboard here.

Why a Raspberry Pi 3 A+?
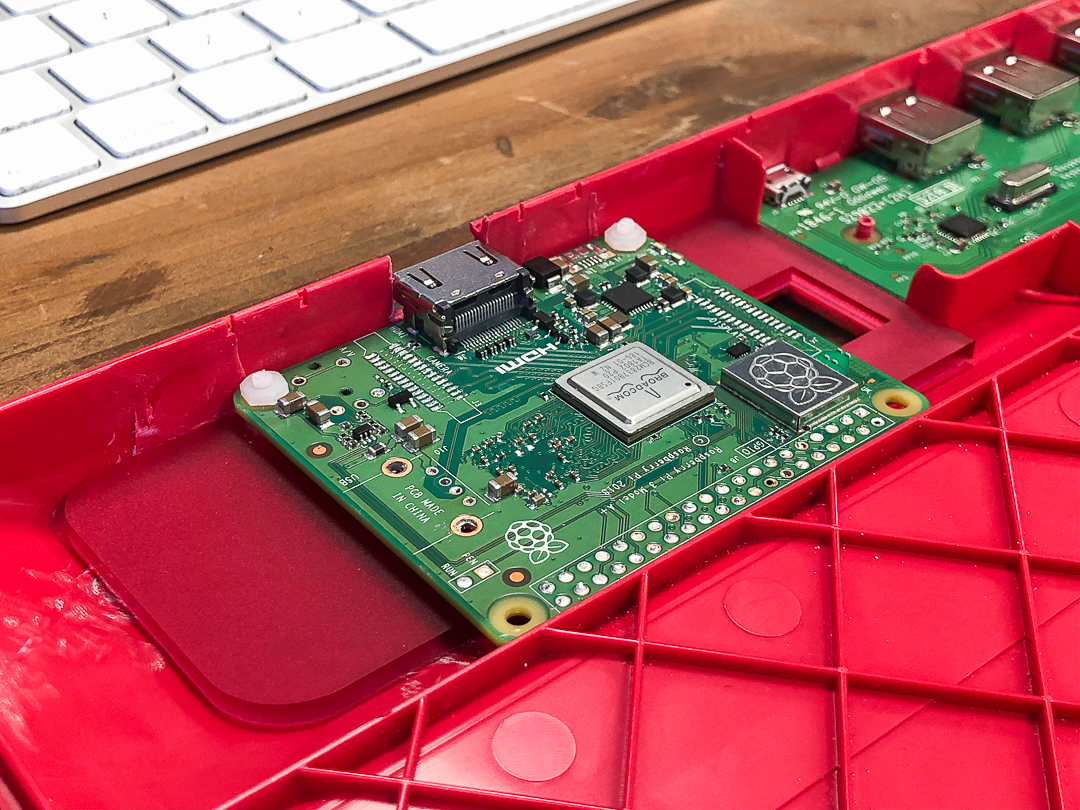
Inside the keyboard is a PCB that takes up around a quarter of the space, at the top right corner when looking from the top. This PCB has all of the circuitry necessary to drive the keyboard, and also has a USB hub driver chip that provides three USB A ports into which you can plug peripherals like a mouse, etc. There's also a micro-B port for connection to the host computer.
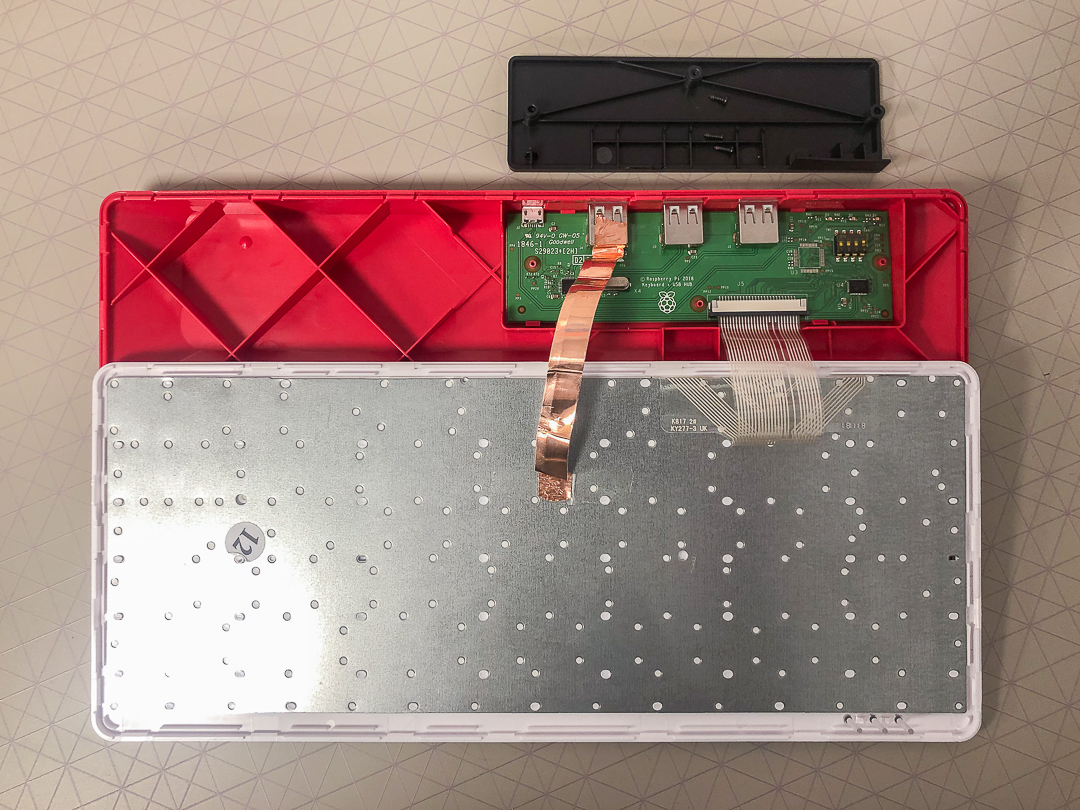
The keyboard case is slanted so the top part of the keyboard, where the keyboard/hub PCB is, has a pretty decent-sized cavity. The left half of this cavity is empty, save for some plastic cross-pieces to provide stability. The height of this cavity just so happens to be the exact height of a Pi 3 A+!
Our plan, as with most of these hacks, was to leave the keyboard looking as close to normal outwardly, so our idea was to wire the host micro-B port on the keyboard/hub PCB to the USB port on the Pi, and power (5V and ground) from the host micro-B port to the Pi's GPIO to give it power. This would mean that all you would have to do would be to plug a power supply into the micro-B port on the keyboard and the Pi would be powered and be connected to the keyboard, with the minimum of messy wires outside the keyboard.
The Pi 3 A+ has several advantages over a Zero or Zero W in this case:
- Quad-core processing
- Full-size HDMI
- Full-size USB A port to solder wires to
However, the Pi 3 A+ has quite a few bulky bits on it, so we'd have to do some major surgery on it to make it fit! Luckily, we had experience in stripping a Pi down to its bare essentials...
Tools required
- Raspberry Pi keyboard
- Raspberry Pi 3 A+
- Hot-air gun
- Plastic spudger/pry tool
- Dremel
- Wet-and-dry paper
- Pliers
- 3mm Perspex and access to a laser cutter (not essential)
- Super Glue
- M2.5 bolts and nuts
- Copper enamelled wire
- Hook-up wire
- Kapton tape
- Hot glue gun
It took us a couple of afternoons to complete this project. It's not for the faint-hearted and obviously you'll void any warranties on your keyboard and Pi!
Opening the keyboard
It's really easy to get into the Raspberry Pi keyboard. Simply use a plastic pry tool or spudger to pop open the plastic clips that hold the two halves of the keyboard together.
Be careful when separating the two halves of the keyboard, as there's a thin, delicate ribbon cable that connects the keys on the top half to the PCB on the bottom half, and a piece of copper tape that grounds the USB hub to the metal shielding on the underside of the keys!
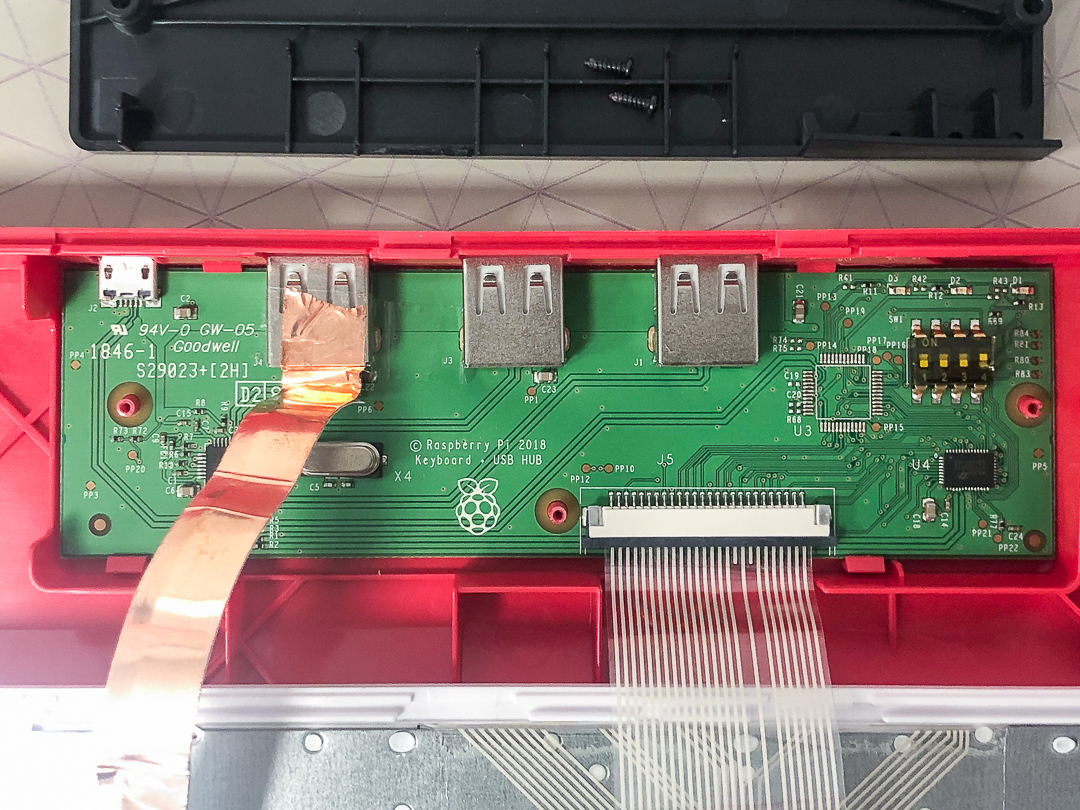
There are three small Phillips screws that hold the plastic shroud on top of the keyboard/hub PCB. Unscrew these and remove the plastic shroud.
Disconnect the ribbon cable from the PCB by gently opening the clip, and carefully peel off the copper tape, so that you can stick it back on after.
Creating space for the Pi
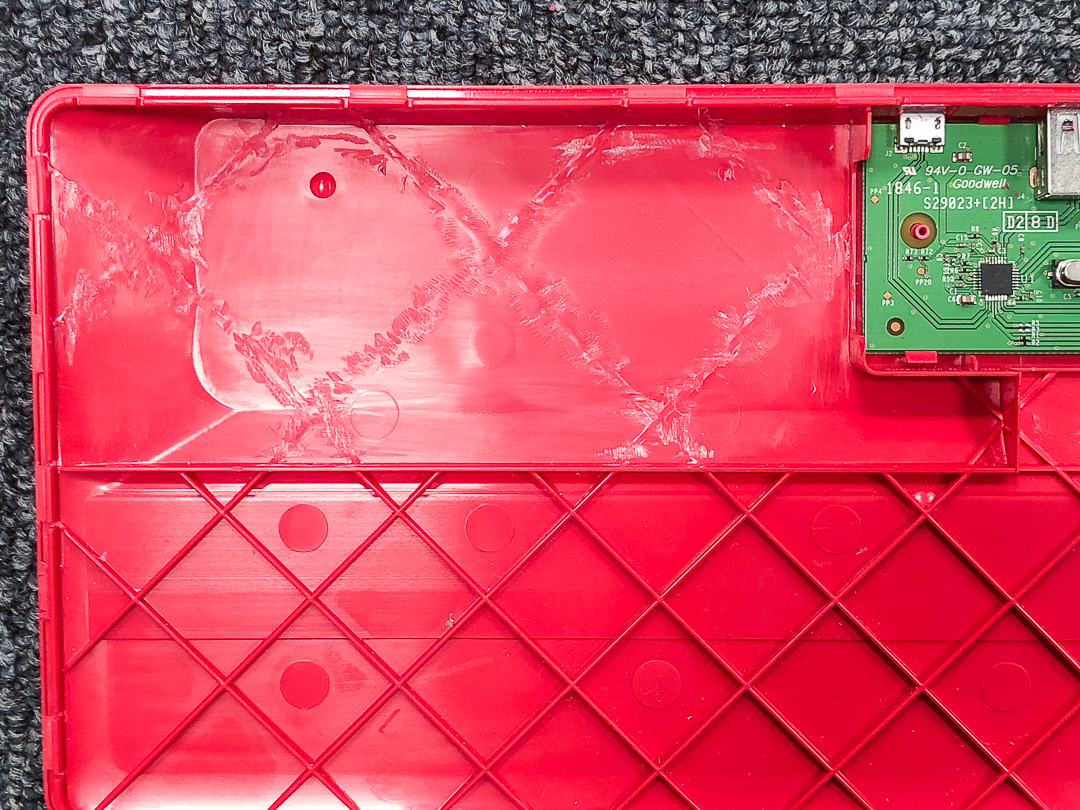
We used a pair of pliers to remove most of the plastic cross-pieces from the area where we planned to put the Pi 3 A+, carefully twisting and nibbling the soft pieces of plastic off.
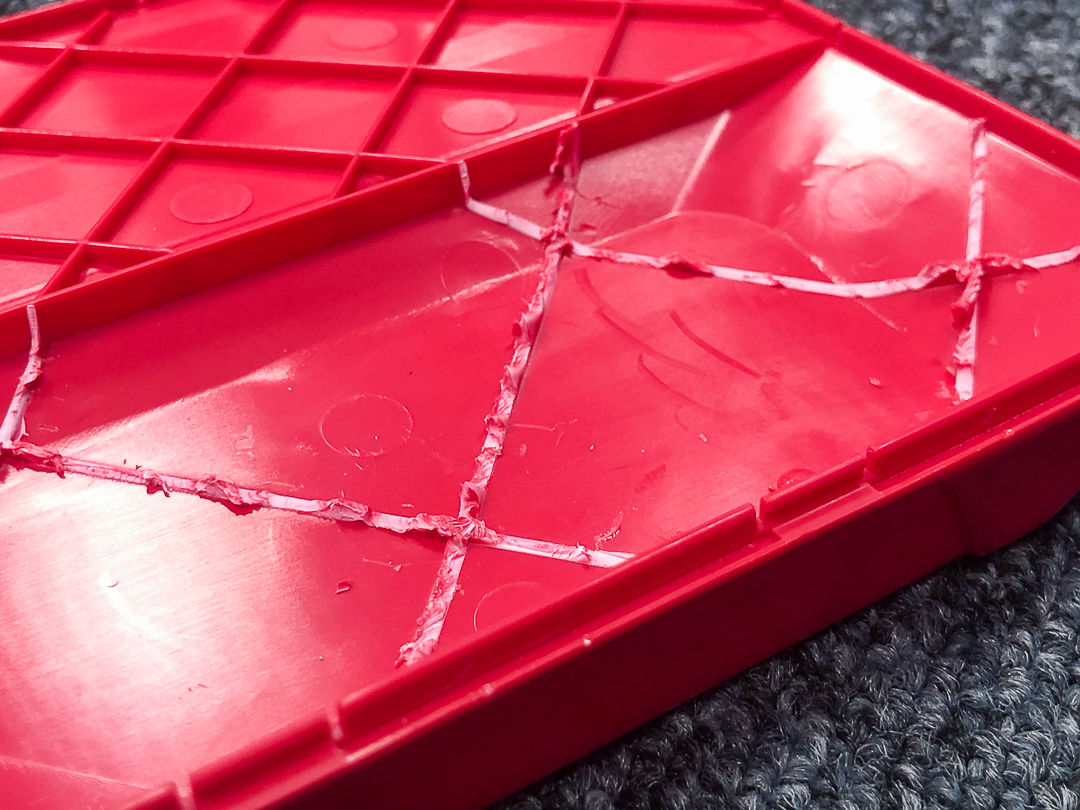
Then, we used a grinding disc on our Dremel to smooth the rough remains of the plastic pieces off carefully, and a pointed grinding tool to remove the plastic from the hard-to-reach corners.
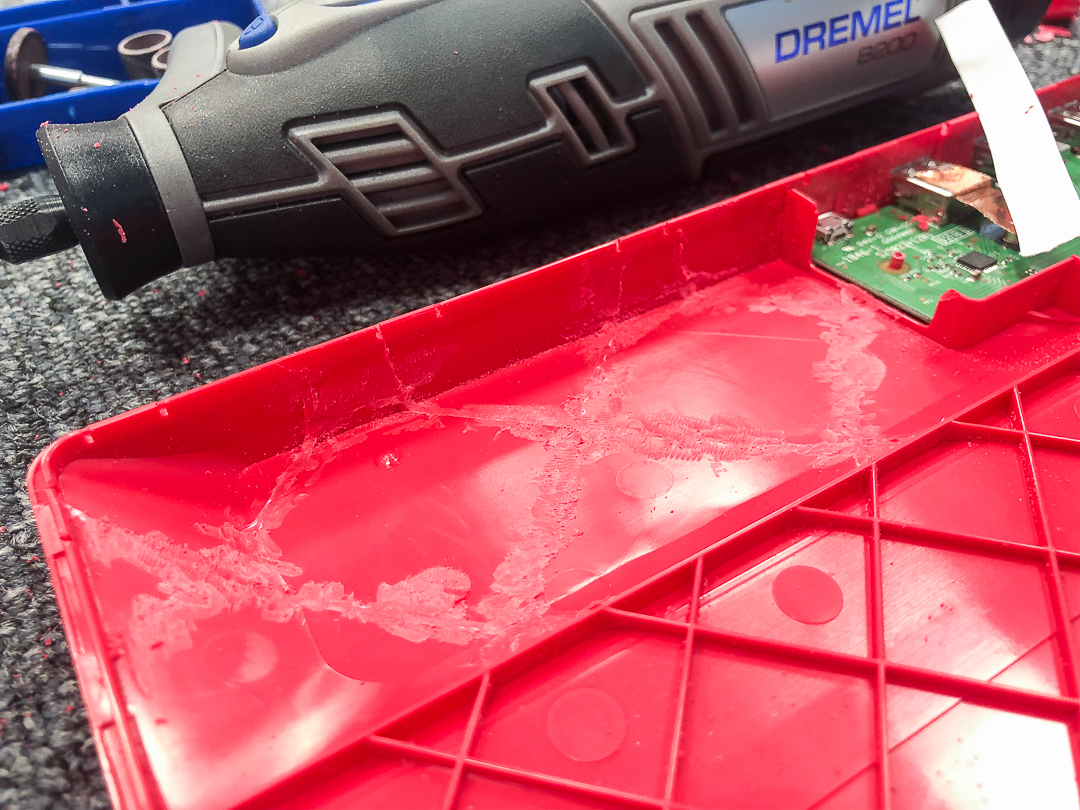
Finally, we gave it a final smooth down with some wet-and-dry paper to give a smooth surface onto which we'd glue our mounting plate.
Stripping down the Pi
All that we'd need on the Pi would be the HDMI port, so we removed all of the other ports and the GPIO pins. A hot-air gun is essential for this; it'd be almost impossible to do with a soldering iron.
First, we pried off the plastic piece from the GPIO pins and then heated and removed each pin, one by one, with the hot air gun.
Next, we removed the large ports—the USB A port, headphone jack, CSI, and DSI connectors—again with the hot air gun.
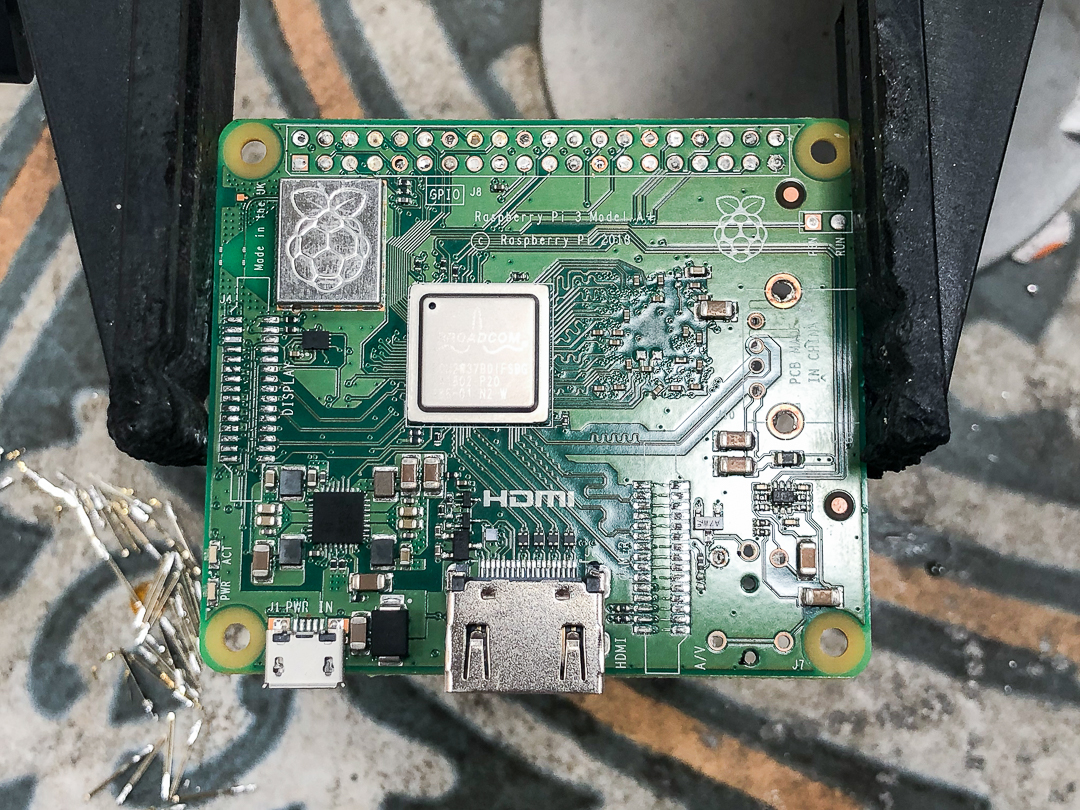
Finally, we removed the USB micro-B port, as we'd be supplying power direct to the Pi's GPIO from the micro-B port on the keyboard/hub PCB.

Mounting the Pi
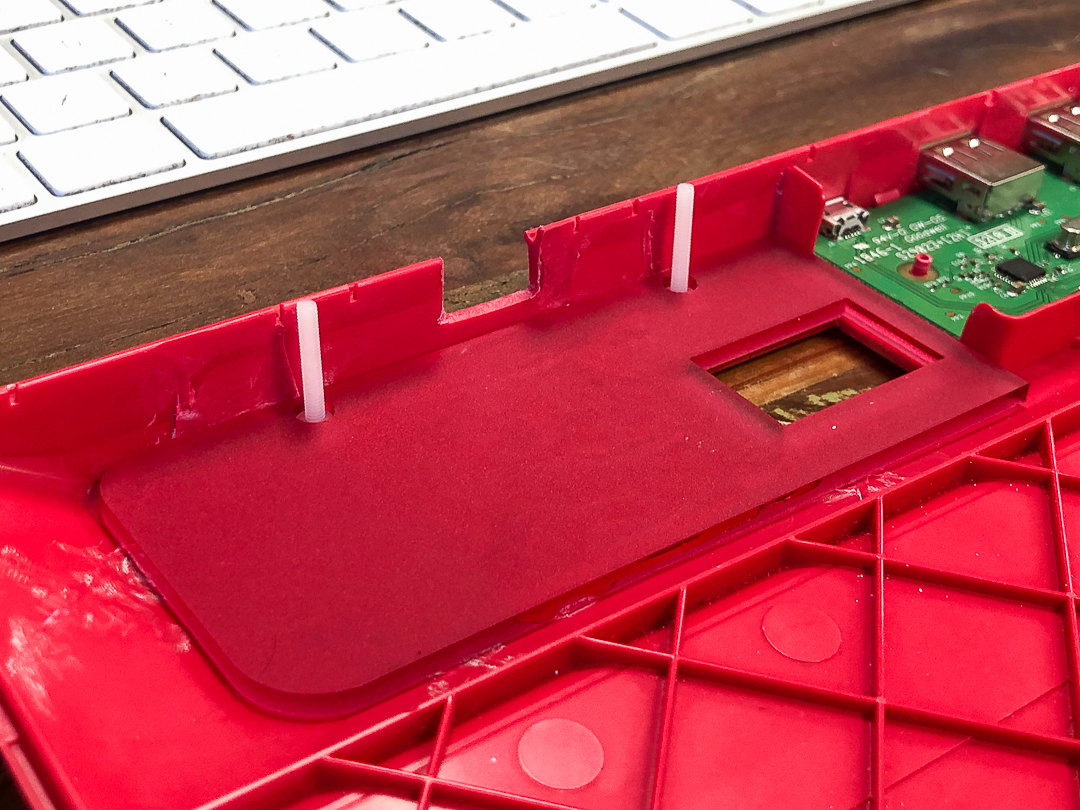
Because the space where we'd be mounting the Pi sloped up towards the middle, we laser-cut a little 3mm Perspex mounting plate that would raise the Pi up a bit and allow us to glue some upside-down nylon M2.5 bolts into it, to secure the Pi.
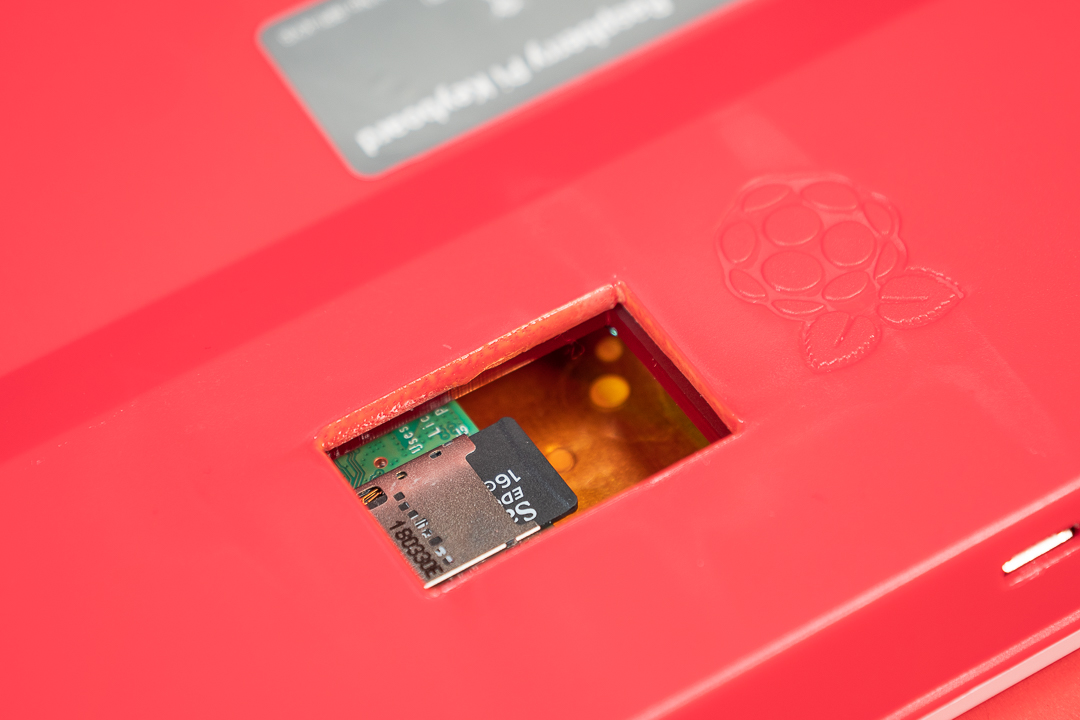
We also laser-cut a hole in the base of the keyboard to allow access to the micro-SD card on the Pi, as it'd be a bit of a faff having to open the keyboard up if we ever needed to change it.
Before gluing the mounting plate into the space, we put the plate and Pi in place and marked where we'd need to cut a hole for the HDMI port, then Dremel-ed and filed out the hole.
We glued the mounting plate into the space with Super Glue, glued the bolts upside-down into the holes on the mounting plate, then mounted and attached the Pi with some nylon M2.5 nuts.
Wiring it up
As we said earlier, we'd be supplying power to the keyboard/hub PCB, and hence to the Pi, through its micro-B port, but we'd also need to connect the DATA + and DATA - lines from this host port to the USB port on our host Pi, so that the keyboard and hub would work with the Pi.
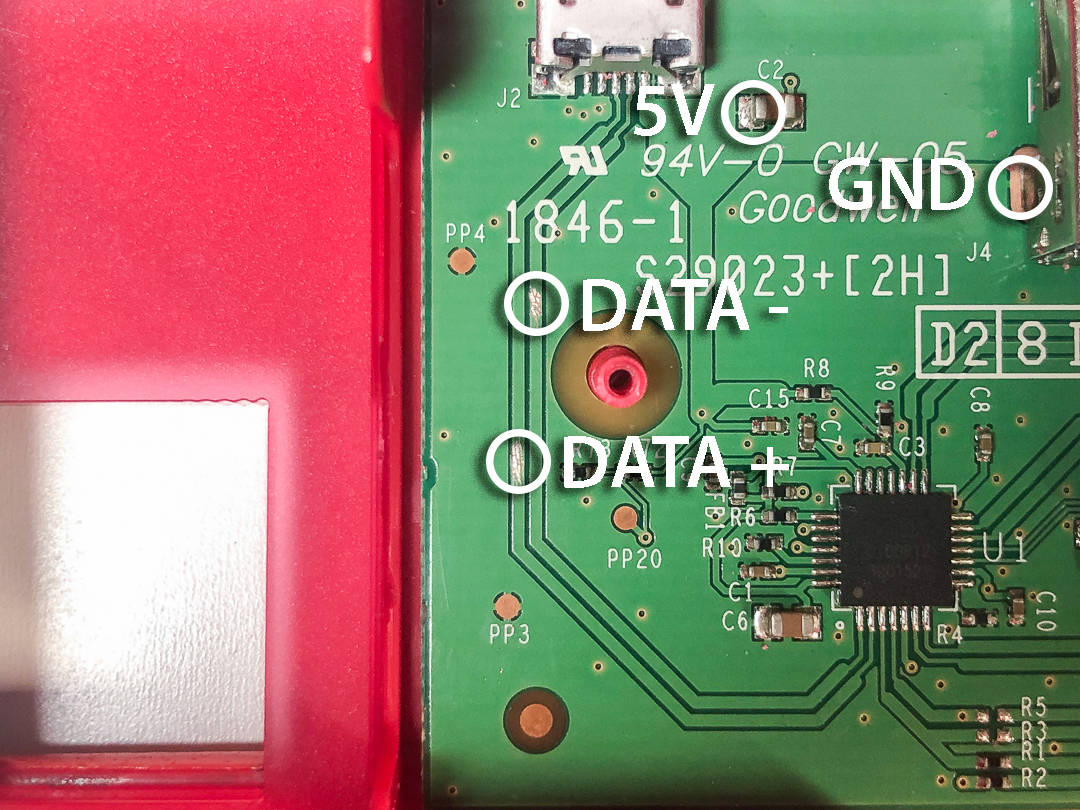
We found a handy capacitor from which we could tap 5V (from the left hand side) and solder easily to. For ground, we would simply solder to the lug of the first USB A port.
Because of the fiddliness of soldering to the tiny pads on the micro-B connector, we scraped off a little of the solder mask on the DATA + (left) and DATA - (right) traces and we'd solder to those instead.
For the power lines, we used thicker solid core wire, and for the USB data lines we used some fine copper enamelled wire that we could solder precisely. After soldering the wires, we tacked them down with some Kapton tape to prevent them from getting knocked or coming loose.

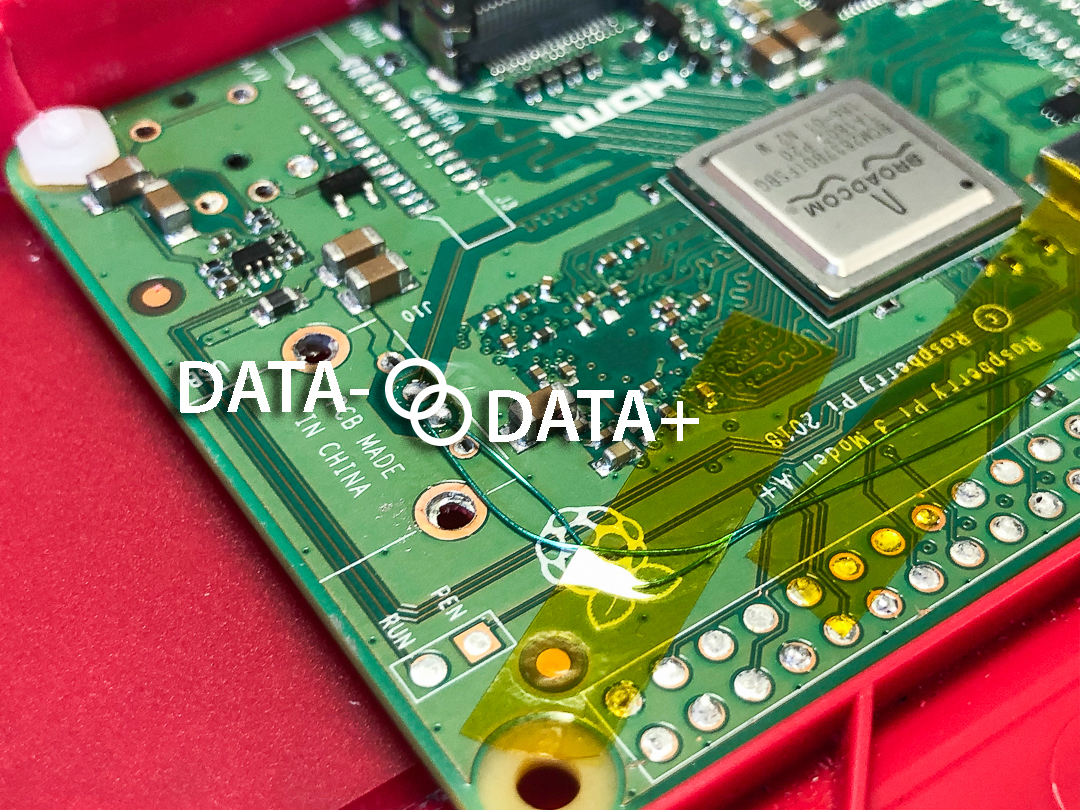
At the Pi side, the copper enamelled wires for the USB data lines were soldered to the holes where the USB A port was, and then tacked down with Kapton tape.
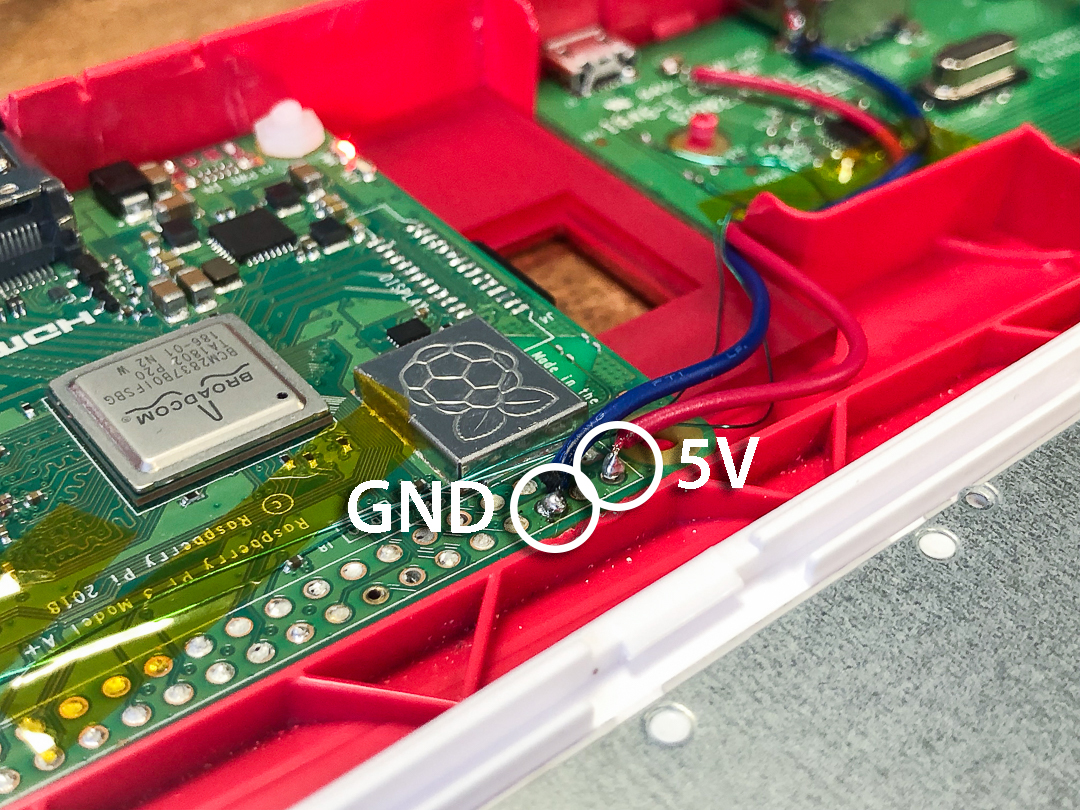
The power lines—5V and ground—were soldered straight to the 5V and ground pins on the Pi's GPIO.
The final step was to secure the wires with a couple of blobs of hot glue and some more Kapton tape. Be aware that hot glue can be conductive, so don't put it on any exposed bits of wire or components!
To prevent any shorts against the flexible metal shielding on the underside of the keys, we stuck some wide pieces of Kapton tape to the metal shielding to insulate it above where the Pi would be sitting.
Make sure to power up the Pi and test that everything is working as expected before clipping the case back together!
The final result
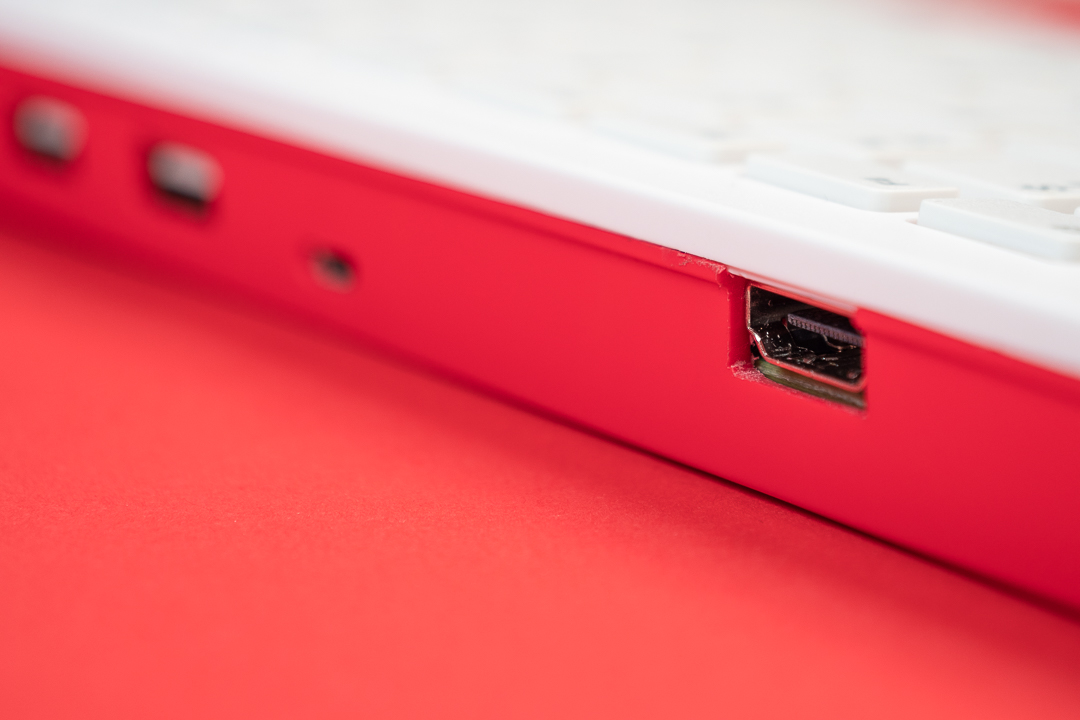
The final result is a keyboard that looks almost exactly the same, save for the HDMI port at the back, and the hole below for the micro-SD card.
Just plug in a display, a mouse, and a micro-USB power supply to the keyboard and that's it, a really compact little computer setup!
If you wanted to go further then you could, as some suggested on Twitter, break out some of the useful pins fron the Pi's GPIO like I2C, SPI, etc., or even add a speaker, or a LiPo battery. There'd definitely be space.