Several of us at Pimoroni—myself, Paul, Matt—are mechanical keyboard fans. In fact, I've just finished my first DIY build, a 60% keyboard with GK64 PCB, and Kailh Speed Copper switches. Mechanical keyboards have a tactile feel and response that you just don't get with normal rubber dome switch keyboards.
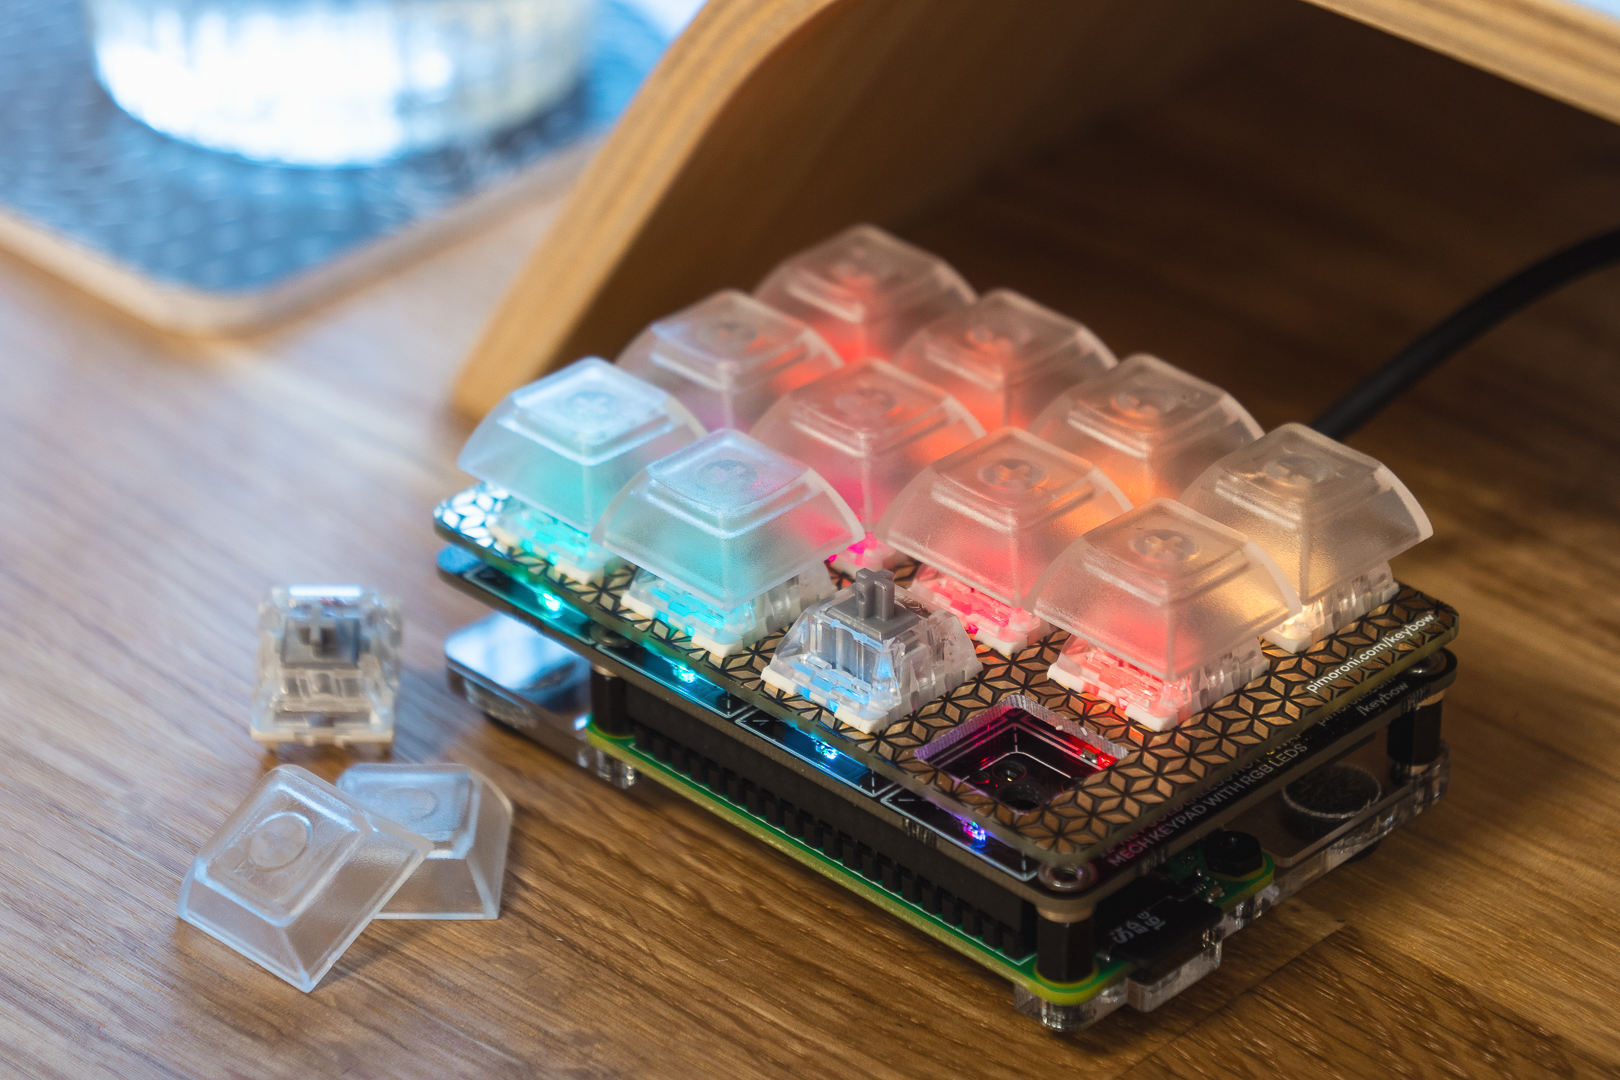
We're thrilled to announce that we've produced our own mini mechanical keyboard kit, Keybow, and that it's available to buy today! It's a gorgeous twelve-key board with high-quality Kailh clicky or linear switches, clear DSA key caps, RGB backlit keys, and sophisticated yet simple customisation - hotkeys, macros, and more. Oh, and the whole kit is solderless!
It's easy to build and set up, and completely customisable, so it can be an Adobe Lightroom hotkey pad, a Pico-8 games controller, an Ableton Live controller, or whatever you want to turn it into. And it's Windows, Mac, and Linux-compatible.
Keybow's Hardware
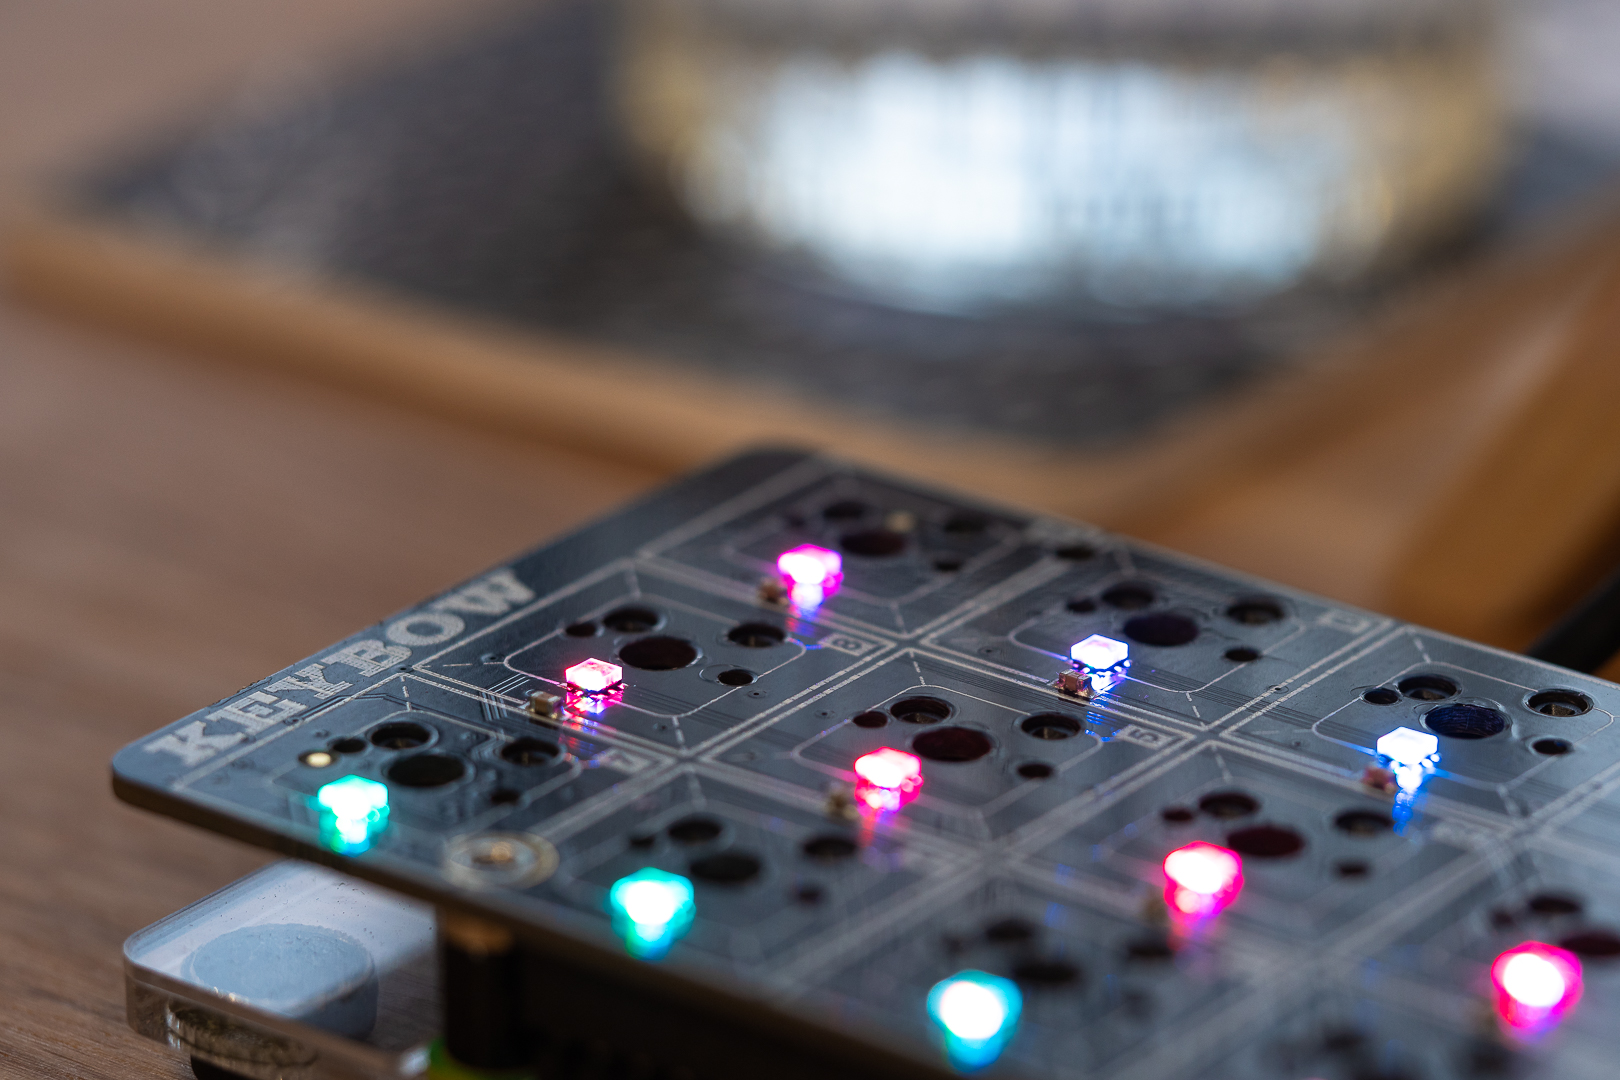
The Keybow PCB has twelve hot-swap Kailh sockets and twelve tiny APA102 RGB LEDs (one per key). It's one of our wHAT-format boards (wide-HAT), so it has a standard 40 pin female HAT header that pops right onto your Raspberry Pi. There's a Raspberry Pi Zero WH (with pre-soldered header) included in the Keybow Kit, and we'll talk more later about why that's ideal for Keybow.
Assembling Keybow is really easy. There's a PCB switch plate, with beautiful black and gold artwork from Paul, that the switches pop into to hold them securely. Then, you just push the plate with switches fitted down into the hot-swap sockets. Nice!
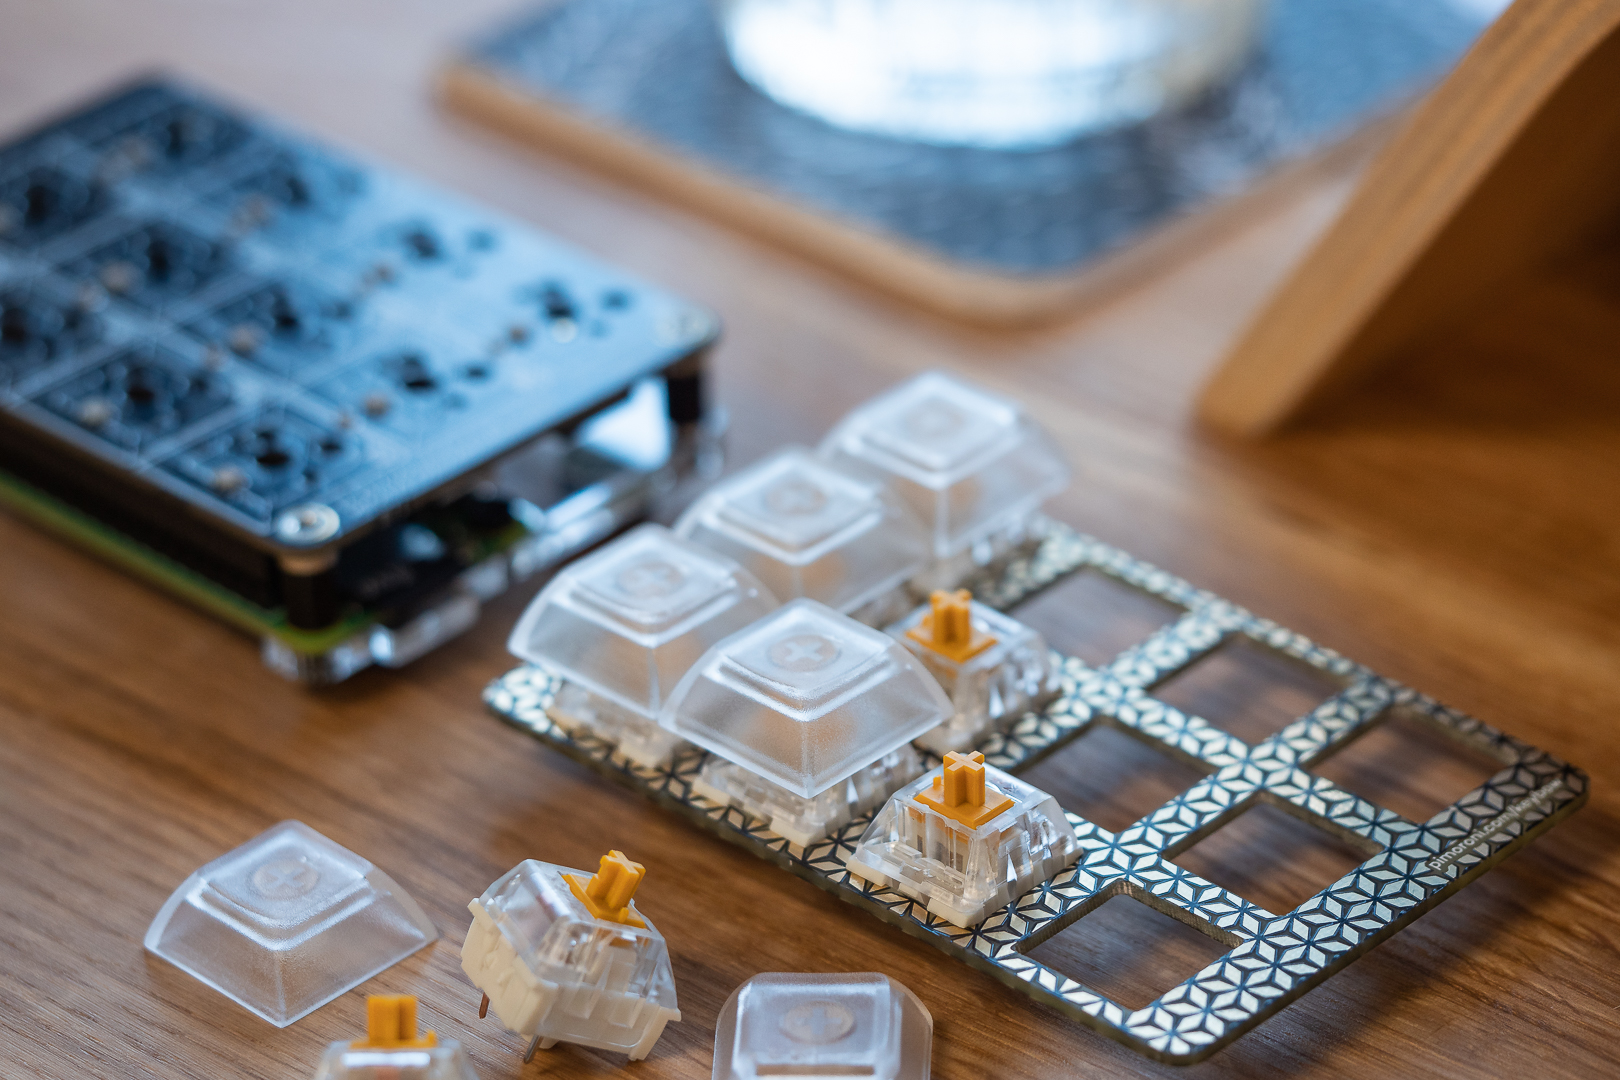
There's an acrylic baseplate and shim layer that the Pi Zero WH mounts on, metal standoffs to hold everything together, and grippy rubber feet to stop it sliding around your desk. An assembled Keybow has the same credit-card-sized footprint as a full-size Raspberry Pi.
Kailh Speed Switches
We spent quite a while testing lots of different switch options for our Keybow Kits. Kailh have a great, and extensive, range of different switch options: light or heavy, normal stems or box switches, clicky, tactile, and linear.
We knew that we wanted both clicky and linear options, and settled on the Kailh Speed Gold and Silver switches. They're both nice and light to the touch, which suits a small-format macro keyboard really well. The clicky gold switches are my personal favourites, but if you share an office then you might want to go for the linear silver ones!
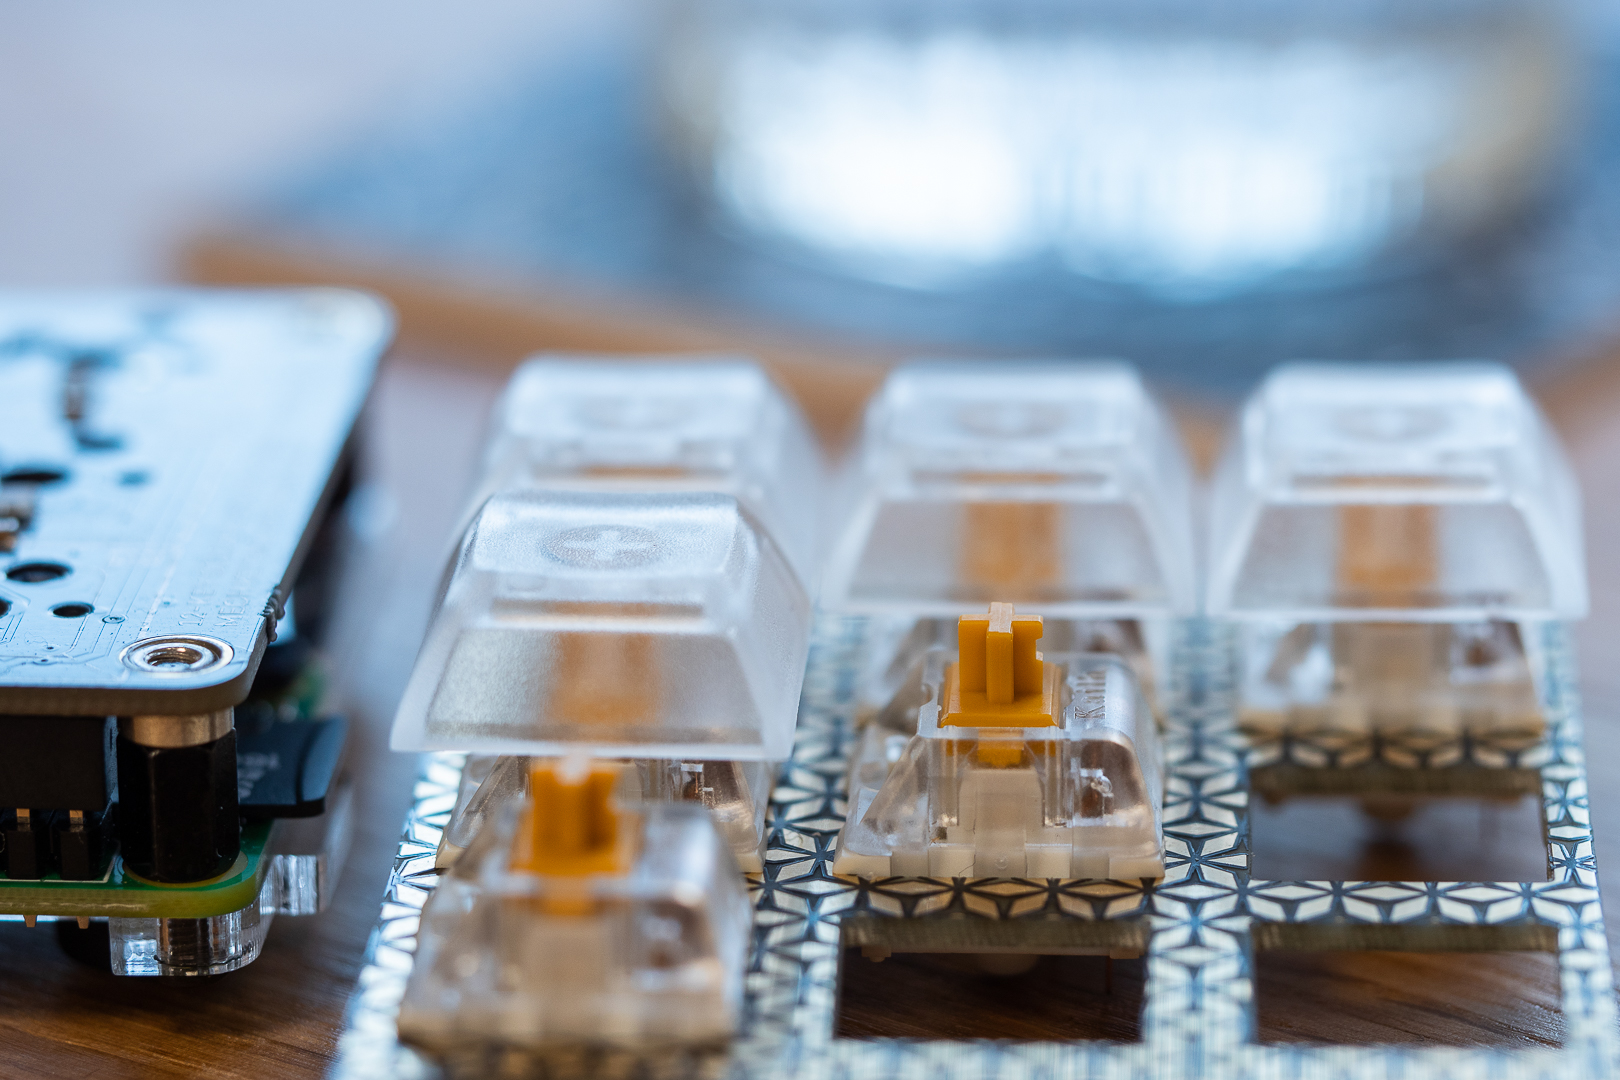
The clear DSA key caps that we've included with Keybow diffuse the RGB lighting beautifully, and the flat profile is ideal for a small board like Keybow.
Of course, the beauty of the hot-swap sockets on Keybow is that you can personalise your own Keybow with whatever switches or key caps you like, to really make it your own.
Keybow OS
When we were planning the Keybow Kits, one of our first thoughts was "Hmm... we could use a Pi Zero or Zero W and use USB HID gadget mode to make it act as a true USB keyboard device", so that's exactly what we've done!
Phil has done a fab job of creating a minimal operating system that runs on a RAM-disk, meaning that it's really well-suited to being unplugged without being shut down first. The entire OS is loaded onto the RAM of the Pi Zero W, so once it's booted the SD card is no longer used. Thanks to Alistair Buxton for his work on the tooling for building the RAM-disk!
There's some C software that sets up and handles the USB HID, and the rest is handled with Lua to customise your key layouts. I've spent a lot of time creating example layouts, and a whole bunch of handy snippets that you can use for common Windows and Mac functions.
Lua makes it incredibly simple to create complex multi-step macros, or even enter whole strings of text at once. One of the first things I did was to make a macro that opened a web browser and searched for cat GIFs, because it seemed like the obvious thing to do?

Phil has also included his nifty way of creating animations that was used on our Picade Plasma buttons. All you have to do is create a PNG image, and the software will loop through that image from top to bottom and map all of the colours to the LEDs on your Keybow keys. The effect is pretty dazzling!
Find out more about the Keybow OS.
Learn more
You can learn more about Keybow here, and do check out the three tutorials that I've written to get you started with your Keybow.